
Leave A Few Zinnia Heads Drying On The Stem And You’ll Never Buy Zinnia Seed Again
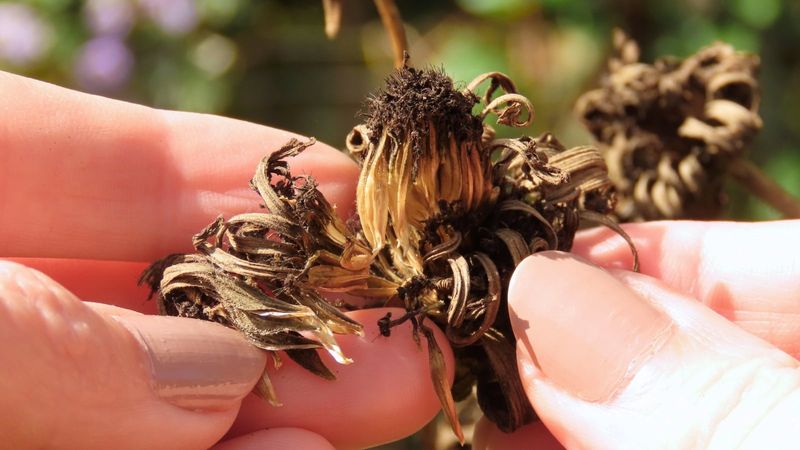
Those faded zinnias at the end of the row are not finished yet. Inside each dried head are tiny seeds that could become next year’s flowers.
Saving them takes a few simple steps and a little patience. Here is how to do it, and what saved seed can and cannot promise.
Leave a few healthy blooms to mature
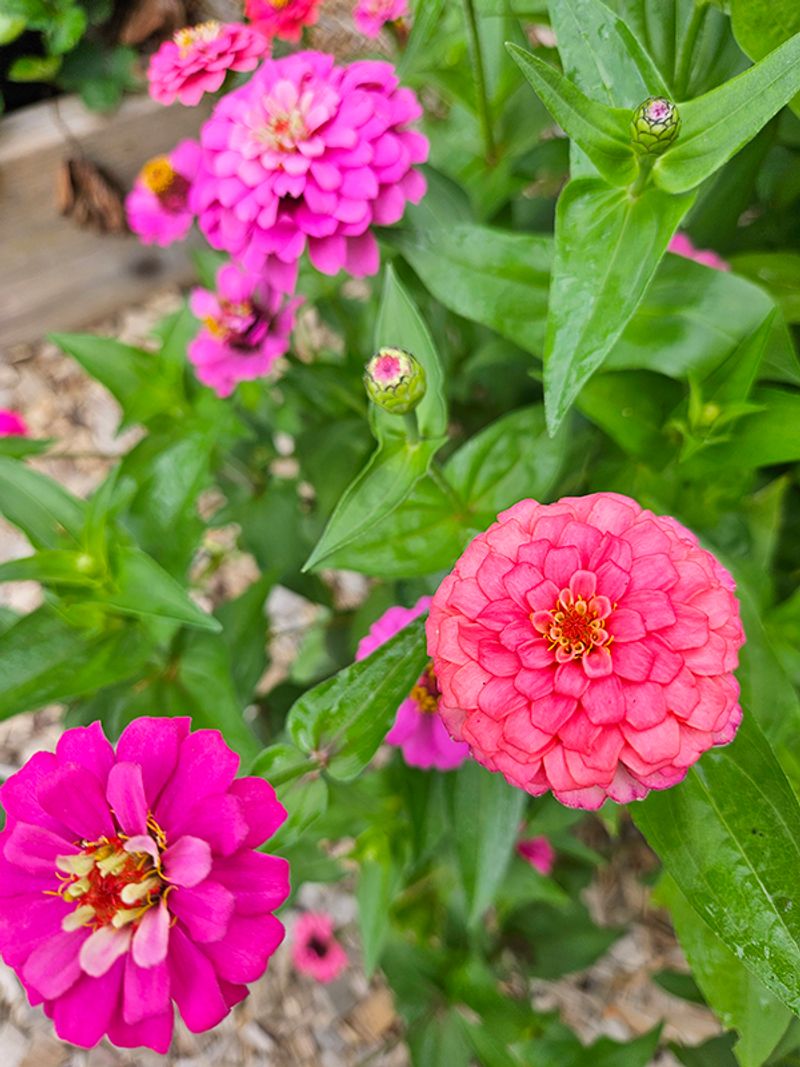
Walk your patch and pick a handful of healthy, strong plants to be your seed parents. Look for sturdy stems, clean leaves, and flowers in the shape and color you love most.
Skip any plant that looks diseased or struggling, since you want the best of your patch to carry forward.
Here is the trade-off worth knowing. Snipping off old blooms is what keeps zinnias pushing out new flowers, as both University of Minnesota Extension and Illinois Extension point out in their zinnia guidance.
When you leave a bloom on the plant to mature, you give up some of those later flowers on that stem.
That is why a few is the right number. Keep deadheading most of the plants so your bed stays full of color, and set aside only the blooms you want for seed.
A tie of bright yarn or a small plant tag around the stem helps you remember not to clip it.
Think of this as collecting some seed for next year, not as a plan for a complete free flower bed. Some seed will not sprout, and some plants may not look like their parents.
Even so, a few saved heads can give you a useful start at no cost.
A dry head and brown stem signal readiness
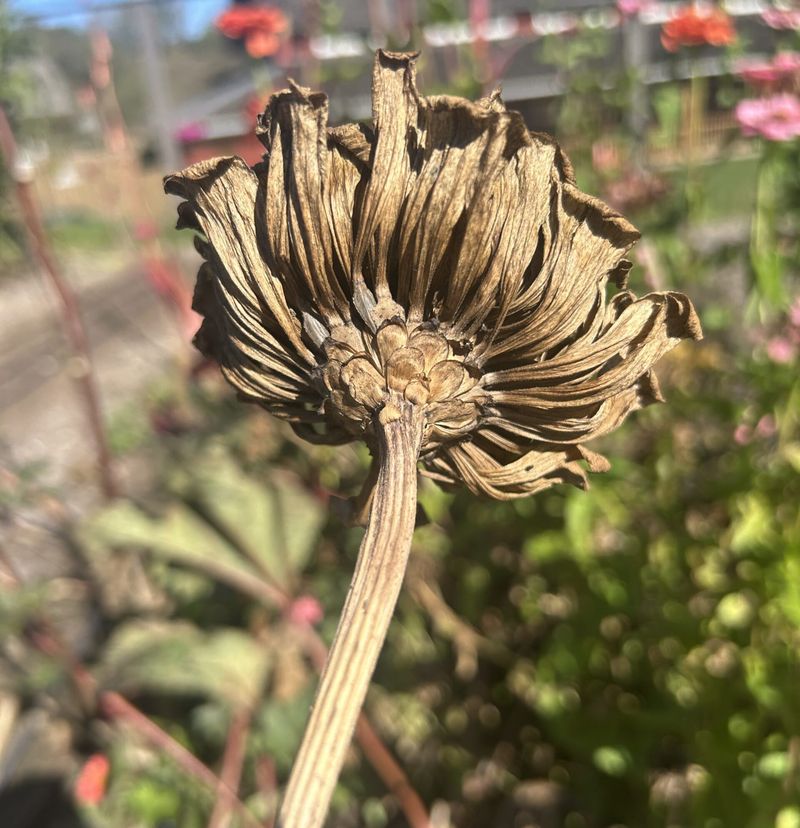
Forget the calendar for this one. A zinnia that is ready for harvest tells you so by how it looks.
Seed Savers Exchange advises waiting until the seed head is completely dry on the plant and the stem just below it has turned brown.
A faded bloom is not the same as a mature one. Petals can wilt and turn crispy while the center is still green, soft, or damp, and the seeds inside have not finished developing.
Press gently on the base of the head. If it feels firm and papery and the stem is brown, you are close.
If anything is green or squishy, give it more time.
Timing depends on where you garden and what the weather has done. A hot, dry stretch may dry heads in a few weeks, while a rainy spell can drag things out.
Extension experts answering questions on Ask Extension also stress letting seed ripen fully before collecting it.
Check your marked plants every few days once the petals fade. Patience here pays off, because seed pulled too early is more likely to be immature or empty.
Harvest dry heads before they break apart
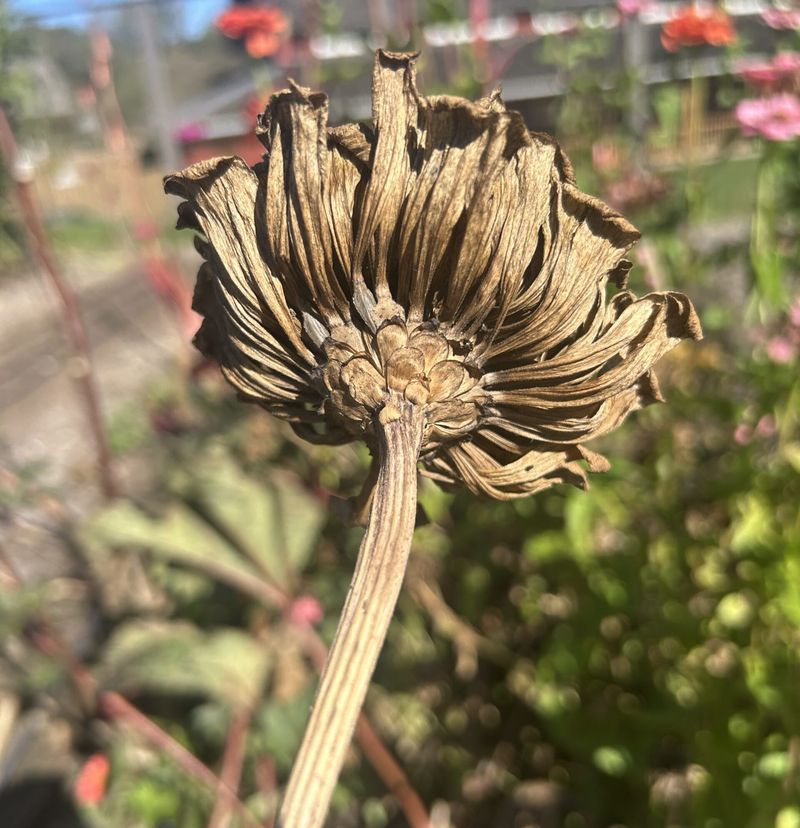
Pick a dry day, ideally after the morning dew has burned off, and snip the head with a few inches of stem. Aim to do it before the head starts crumbling on its own.
Once it falls apart, seeds can scatter into the mulch, and you will lose what you were saving.
Drop the heads into a paper bag, a shallow box, or a tray. Paper lets moisture escape, which matters more than it sounds.
Seed Savers Exchange and Iowa State Extension both stress harvesting dry and letting seed dry with airflow.
Resist the urge to zip freshly cut heads into a plastic bag. Trapped moisture can lead to mold and spoiled seed, and you will not know until it is too late.
If rain or a cold snap is on the way and your heads are close to ready, you can bring the plants or cut stems indoors to finish drying. General seed-saving guidance shared through Ask Extension supports this for plants that produce dry seed.
Set them somewhere warm-ish and airy, away from damp spots.
Crumble the dry head to release seed
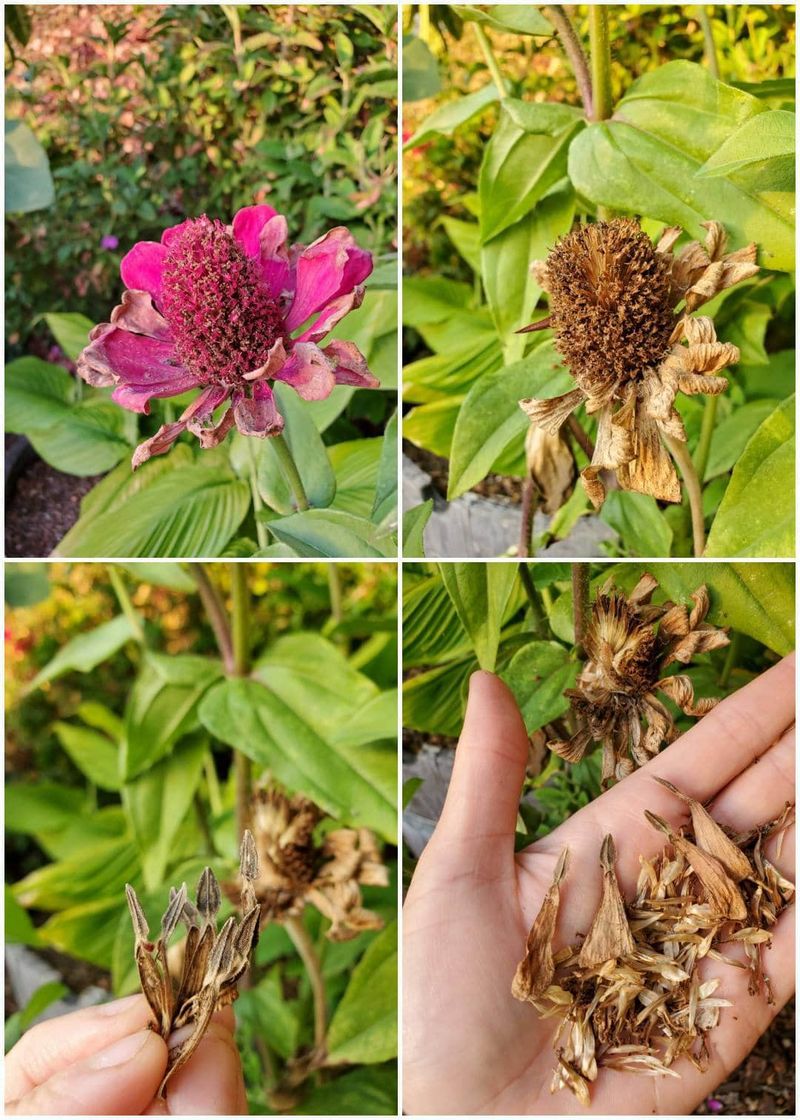
Once a head is brittle and fully dry, the fun part begins. Hold it over a bowl or tray and rub it between your fingers.
The seeds and bits of dried petal and plant material, called chaff, will fall out together.
Zinnia seeds are slim and pointed, often tan to dark brown, and some are flat with a little tip. You will probably see a mix of plump seeds and thin, papery ones.
New Mexico State University Extension found that a zinnia head has many places where seed could form, but a lot of them turned out to be empty. So treat a big head as having many potential seeds, not a promised count.
Do you need to separate the seed from the chaff? Not really.
Winnowing, which means gently blowing or sifting away the light bits, can remove chaff and some immature seed, as Seed Savers Exchange describes. For home use it is optional, and plenty of gardeners just store seed with a little chaff mixed in.
If you do clean it, pick out the plump, firm seeds and set the flat, thin ones aside. Work over a tray so nothing gets lost.
Let the seed finish drying in moving air
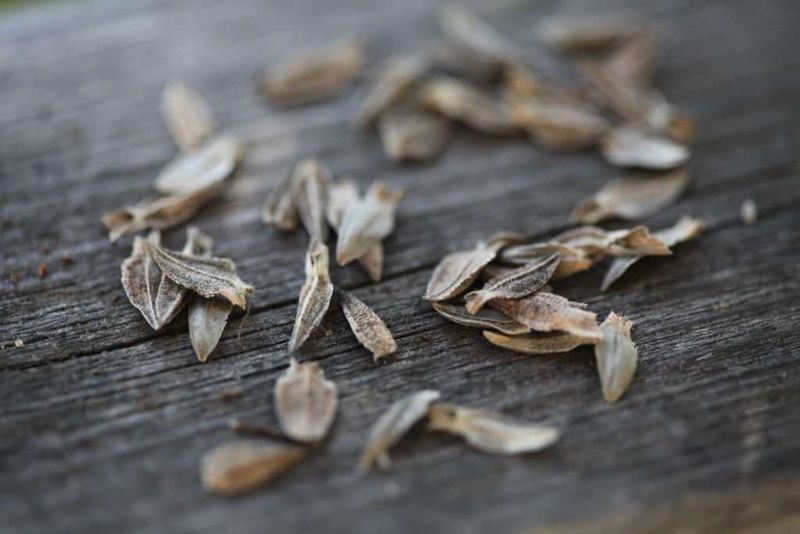
Even seed that feels dry may still hold some moisture. Spread it out in a single thin layer on a paper plate, screen, or tray.
A shaded shelf, covered porch, or spare room with some air movement works well.
Keep it out of direct sun and away from strong heat. Iowa State Extension advises drying seed with good airflow and avoiding direct sunlight and high heat, both of which can hurt seed.
A sunny windowsill or a hot car dashboard may feel helpful, but it is not.
How long should you wait? Seed Savers Exchange recommends drying zinnia seed for at least three weeks.
Stir the seed gently every few days so nothing stays damp underneath.
Skip the temptation to hurry. Seed packed away while still damp can mold, and you may not discover it until spring.
Only when the seed feels completely dry and snaps rather than bends should you move on to sealed storage.
Label, store, and test the seed
Grab a pen before you fill a single envelope. Write the variety or color and the year you harvested the seed.
By next spring, you will be glad you did, since saved seed all starts to look alike.
Once the seed is fully dry, put it in a sealed container such as a jar or a labeled envelope inside a lidded tin. Keep it in a cool, dry spot, away from heat and humidity.
Seed Savers Exchange recommends this kind of storage for zinnia seed after the drying period.
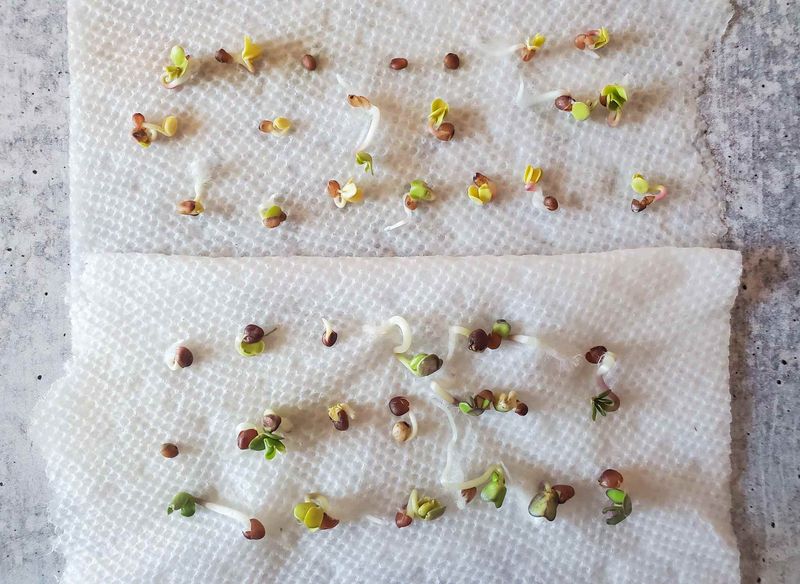
Not sure your seed is any good? A quick germination test can tell you before you commit garden space.
Iowa State Extension explains a paper-towel method: place a sample of seeds on a damp towel, keep it moist and warm, and count how many sprout.
The result helps you decide how thickly to sow. If few seeds sprout, plant more of them or buy a fresh packet.
No test can promise a certain germination rate or storage life, but it takes the guesswork out.
Saved seed may not match this year’s flowers
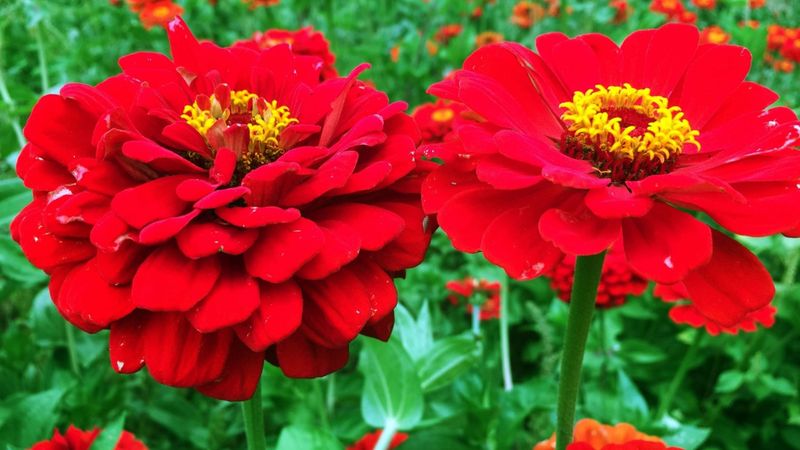
Here is the candid part. The plants grown from your saved seed may not look like the ones you collected from.
Two things cause most of the surprises.
First, hybrids. If your zinnias came from an F1 hybrid packet, the seed they make may produce plants unlike the parent, as Virginia Tech Extension notes for annual flowers.
Check the packet or the seed company’s page. Open-pollinated varieties give you more predictable offspring, though even then results are not guaranteed to be identical.
Iowa State Extension gives similar advice about hybrids.
Second, cross-pollination. Bees and butterflies carry pollen between zinnia varieties, so a mixed bed can produce seed with new colors or flower shapes.
Some gardeners enjoy that surprise. If you want to keep a variety pure, isolation helps, but advice differs.
Seed Savers Exchange suggests several hundred feet or growing just one variety per season, while a UC seed-saving handout suggests a quarter mile.
No single distance is a sure guarantee for a home garden. A practical approach is to grow one open-pollinated variety if purity matters, or enjoy the mix if it does not.
Treat saved seed as a head start, not a guarantee
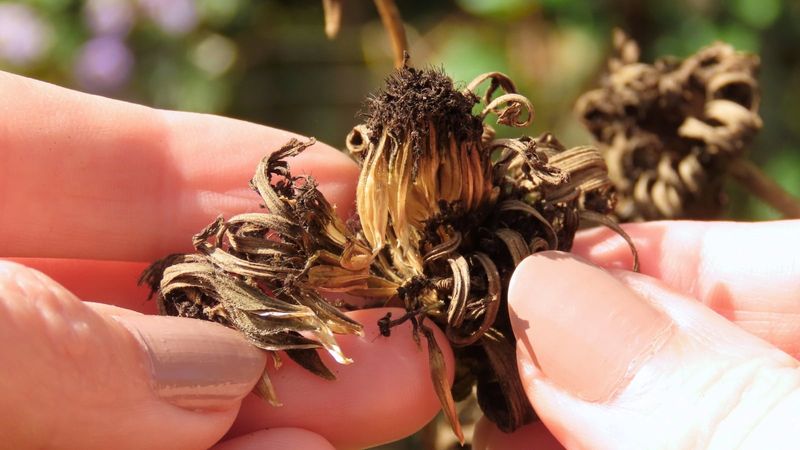
The routine is short: leave a few blooms, wait for dry heads and brown stems, then crumble, dry, label, store, and test. Done well, it can give you seed for next year at almost no cost.
Some seed may not sprout, though, as Iowa State Extension explains, and Virginia Tech Extension notes that hybrids may not repeat their parents.
So there are no promises of free flowers, matching plants, reliable self-seeding, or the end of seed packets. Still, a jar of your own seed is a fine thing to hold in February.
Your best zinnia may be the one that surprises you.