
Overwintering Dahlia Tubers Rot In Storage More Than They Freeze – 13 Steps To Keep Them Firm Until Spring
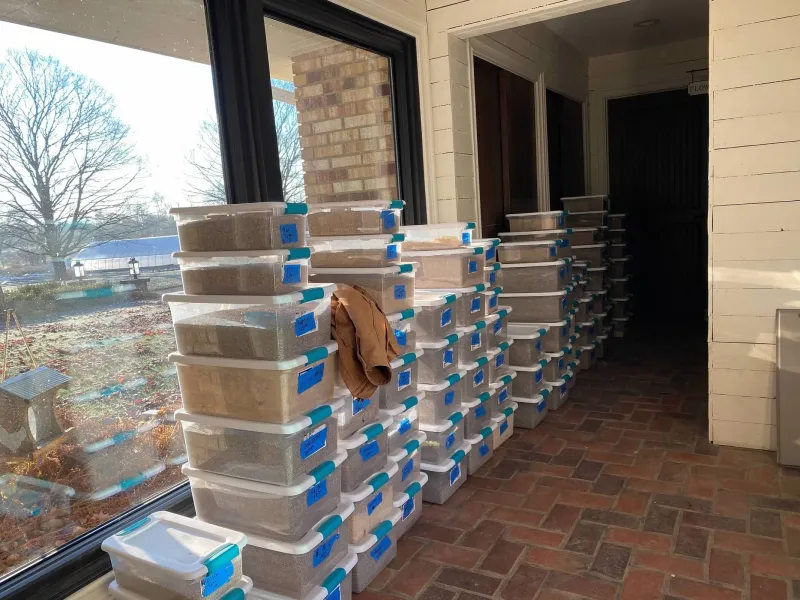
Most gardeners worry about their dahlia tubers freezing, but the real danger usually hides inside the storage box. Rot creeps in quietly when tubers sit too wet, too warm, or packed too tight.
By spring, a clump that went in plump and healthy can come out soft, smelly, and useless. The good news is that a few simple habits, starting before you even dig, can keep your tubers firm and ready to plant again.
1. Wait for a Killing Frost
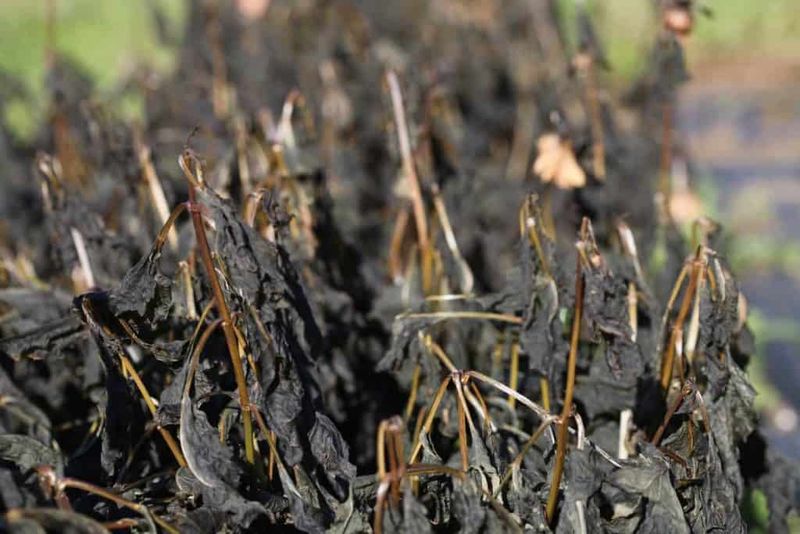
Patience pays off in the dahlia bed. Those blackened, droopy leaves after the first hard frost look sad, but they are actually your signal to get ready.
A killing frost tells the plant to shut down and go dormant. In the days that follow, the tubers stop growing and their skins toughen up, a bit like a potato left in the ground before harvest.
Digging too early means you pull up tubers with thin, tender skins. Those soft skins lose water fast and bruise easily, which opens the door to rot later.
If you can, wait about a week after the frost before you dig. In warmer parts of the US where frost comes late or not at all, cut the plants down in late fall and let the tubers sit in the ground for two weeks to toughen before lifting.
2. Cut Stems and Drain Them
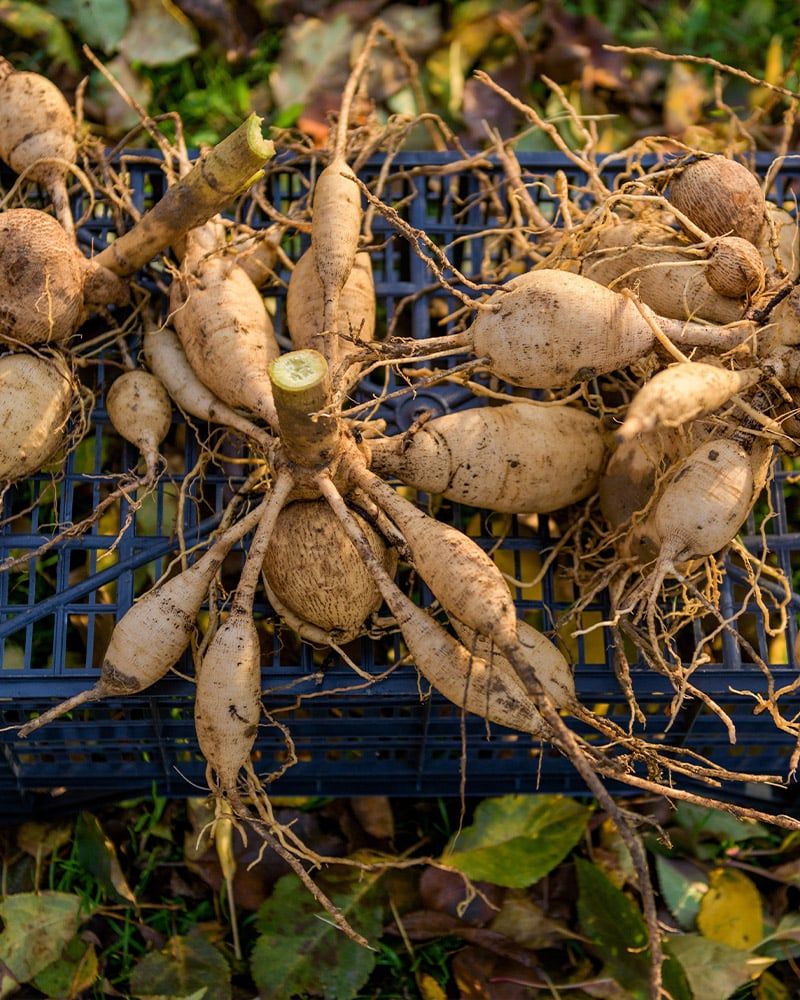
Here is a sneaky one that catches plenty of growers off guard. Dahlia stems are hollow, almost like drinking straws, and they hold water.
After frost, cut the stalks back so about 4 to 6 inches remain. Once the clump is out of the ground, flip it upside down for a few hours so any trapped water can run out.
Skip this step and that water sits right against the crown, the spot where new eyes form for next year. A wet crown is one of the fastest ways to get mushy rot that ruins the whole clump.
Draining takes almost no effort, and it protects the most valuable part of the tuber.
3. Dig Carefully With a Fork
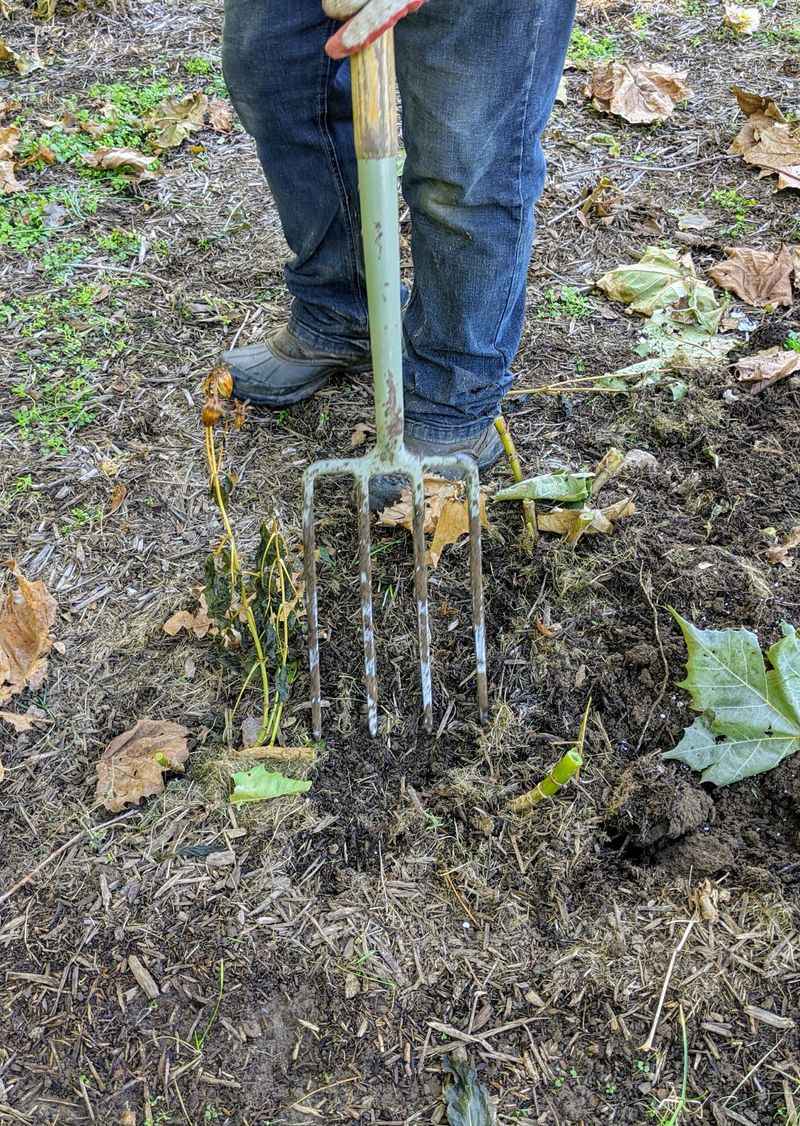
One careless jab with a shovel can undo a whole season of growing. Dahlia tubers spread wider than most people expect, and their necks snap easily.
Start digging about 8 to 12 inches away from the stem, working in a circle. A garden fork is usually gentler than a spade because it slides between tubers instead of slicing them.
Loosen the soil all the way around, then lift the clump from underneath. Never yank it up by the stem.
A broken neck or a pierced tuber becomes an open wound, and open wounds are where rot gets its start in storage.
4. Clean Off the Soil
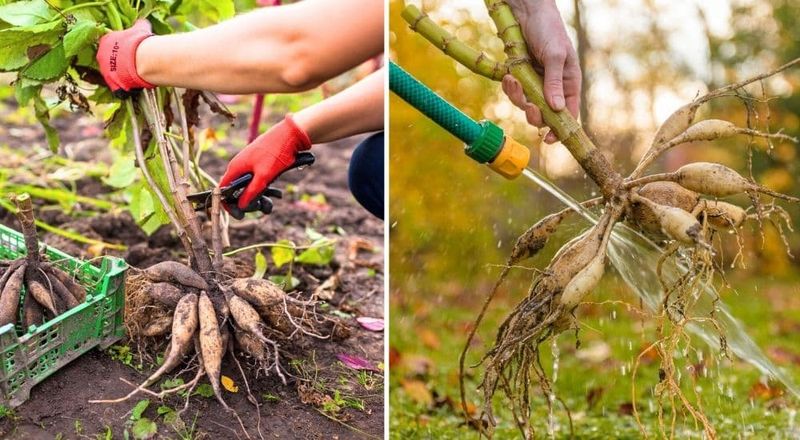
Clinging dirt may seem harmless, but it can carry fungus spores, tiny pests, and extra moisture into your storage bin. A clean tuber is a much safer tuber.
Shake off what you can, then rinse gently with a hose on a soft spray setting. Heavy clay soils almost always need rinsing, while sandy soil may brush off with your hands.
Cleaning also lets you actually see what you are working with. Bruises, cracks, and soft spots hide under mud, and you need to spot them before the next step.
5. Inspect and Trim Damage
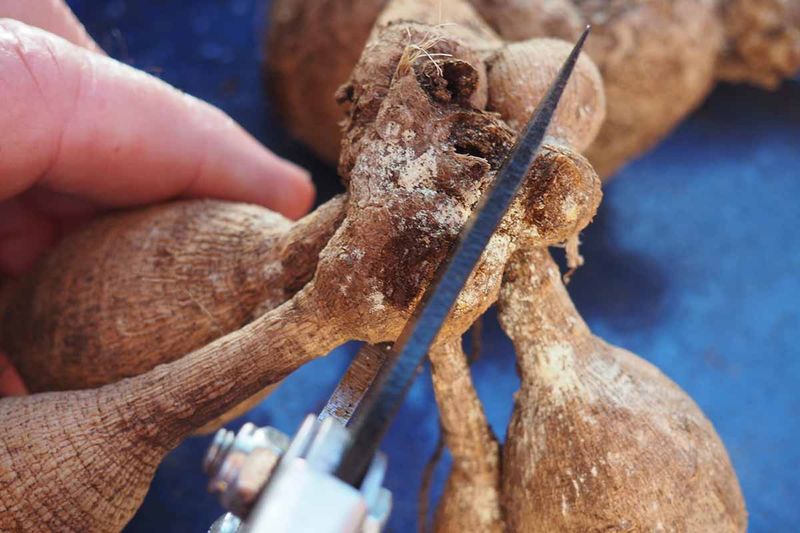
Think of yourself as a tuber doctor for a few minutes. Turn each clump over slowly and look for anything mushy, cracked, broken, or discolored.
Use clean, sharp pruners or a knife to cut away damaged sections and those fine, stringy hair roots. Wipe your blade with rubbing alcohol between clumps so you are not spreading problems from one to the next.
Any tuber with a broken neck will not sprout, so toss it. It may feel wasteful, but one bad tuber left in the box can turn into a whole box of trouble by February.
6. Cure Tubers Before Packing
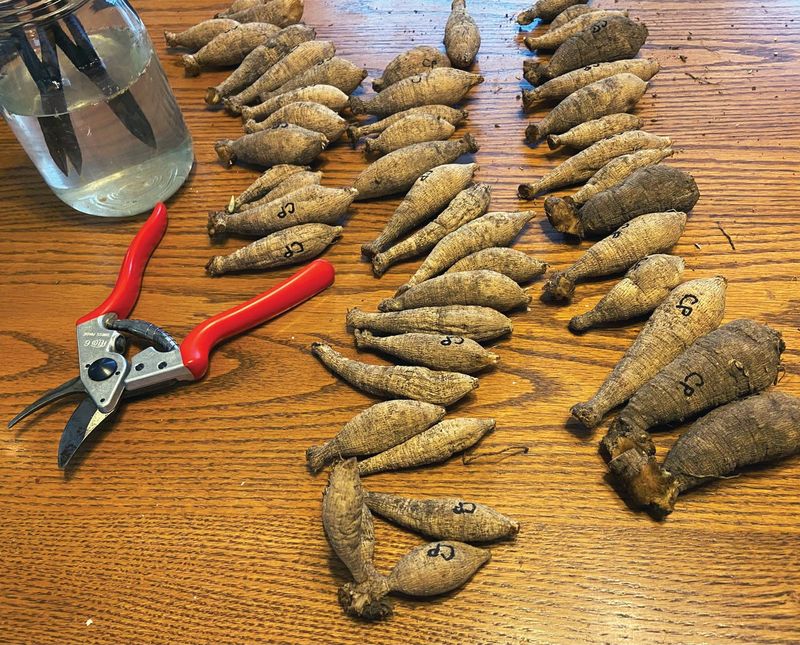
Curing is the quiet hero of the whole process. Freshly cleaned tubers are damp on the outside, and packing them wet is basically an invitation for mold.
Spread them out on a rack, newspaper, or cardboard in a cool, shady spot with some airflow, like a garage or covered porch. Give them one to a few days, until the skin feels dry to the touch but not wrinkled.
Keep them out of direct sun and off bare concrete. Both can pull moisture out too fast and leave you with shriveled tubers instead of firm ones.
Any small cuts from trimming will also seal over during this time.
7. Choose a Breathable Storage Medium
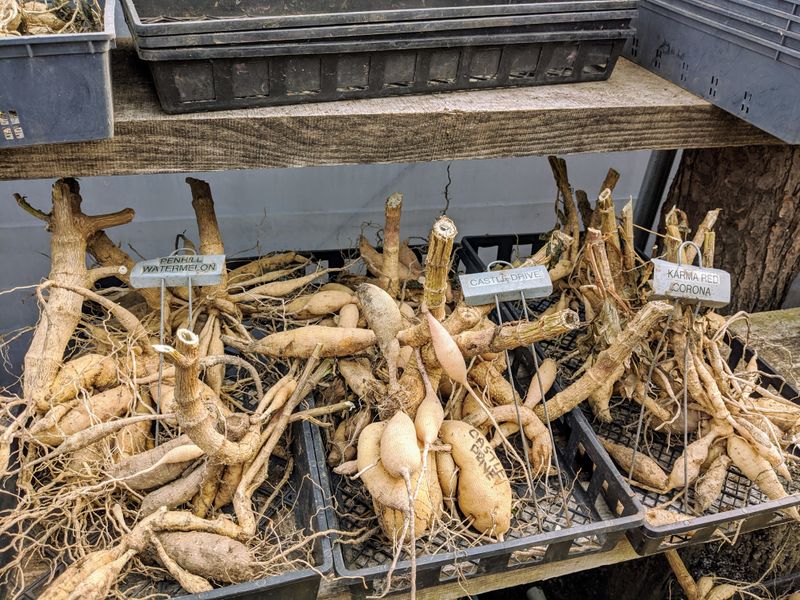
What you tuck your tubers into matters more than you might think. The right packing material acts like a sponge that holds steady moisture without staying soggy.
Good options include:
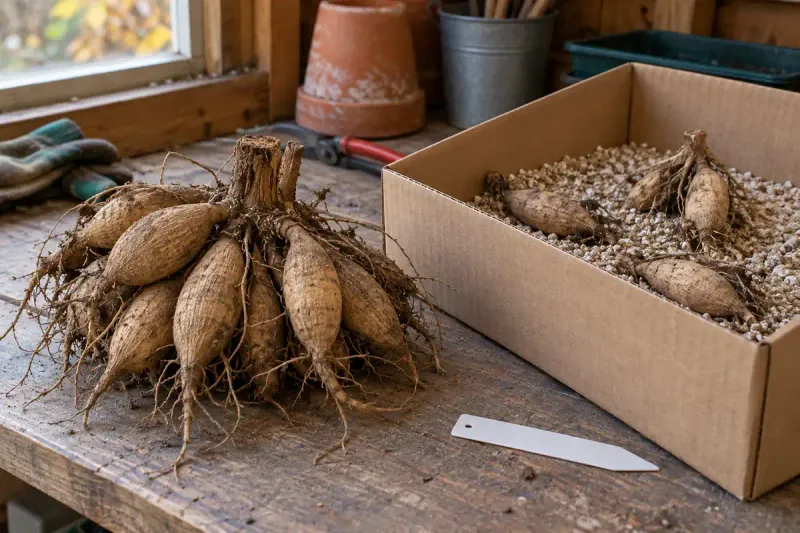
Peat moss, vermiculite, coco coir, or pine wood shavings. Each one keeps a little humidity around the tubers so they do not dry out, while still letting air move.
Fun fact: dahlias are the national flower of Mexico, where the Aztecs once grew them. Back home in the mountains, their tubers never had to sit in a box all winter, which is exactly why they need our help to fake good conditions.
8. Pick Containers That Breathe
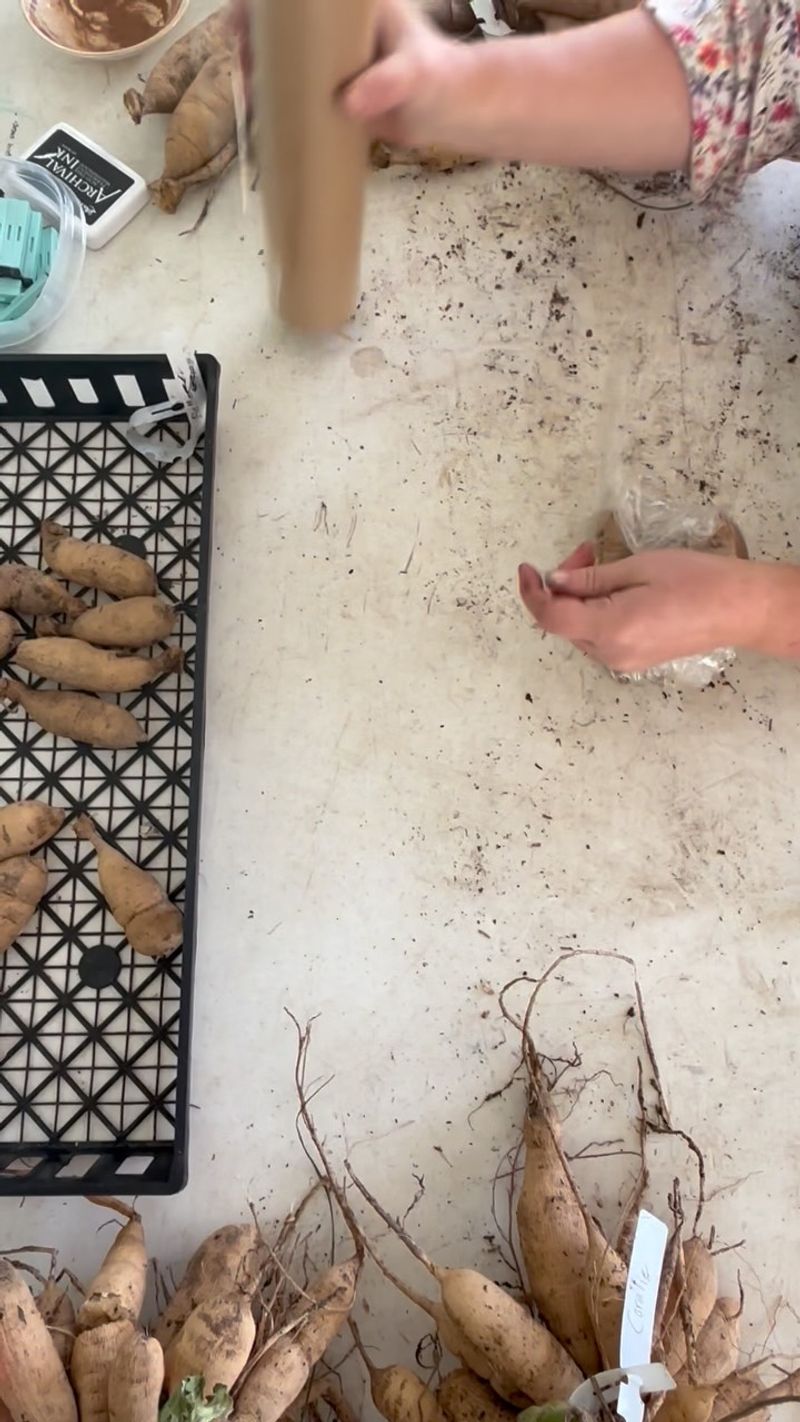
A sealed plastic tub feels tidy and safe, yet it can turn into a little rot sauna. Trapped moisture beads up on the lid, drips down, and soaks the tubers.
Cardboard boxes, paper bags, and wooden crates all let some air through. If you prefer plastic bins, drill a few small holes or leave the lid cracked open.
Label each container with the variety names, too. Come spring, you will thank yourself when you are not guessing which clump was the giant dinner-plate bloom.
9. Keep Tubers From Touching
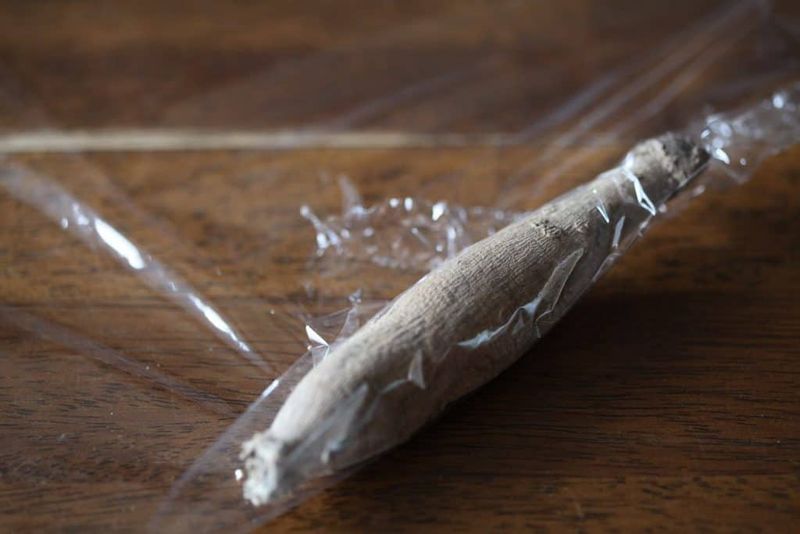
Rot spreads like gossip at a family reunion. Once one tuber goes soft, it can pass the problem straight to its neighbors.
Layer tubers in your packing material so there is a little cushion between each one. Some growers wrap each tuber or clump in newspaper for an extra barrier.
Spacing also makes your monthly checks easier, since you can lift one tuber out without disturbing the rest. It takes a few more minutes at packing time, but it may save most of your collection if something goes wrong.
10. Hold Temperatures Between 40 and 50 Degrees
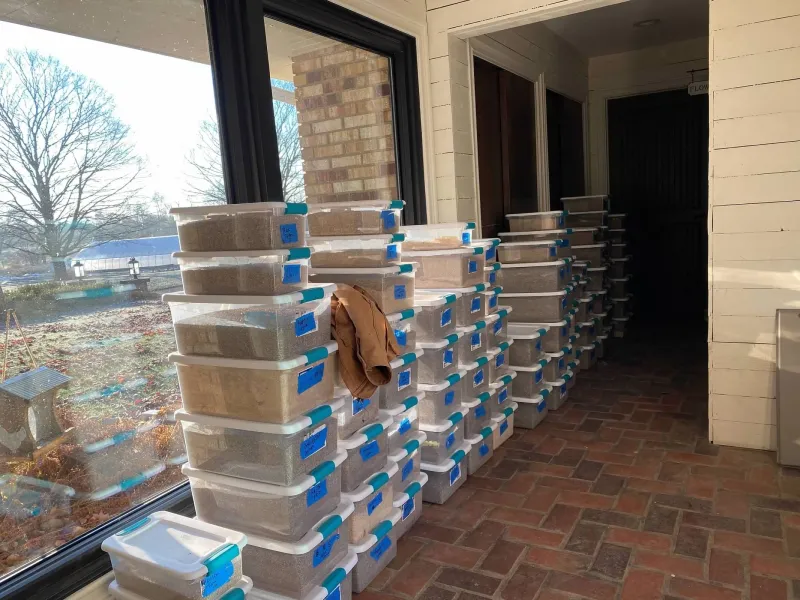
Temperature is the dial that controls almost everything here. Aim for a cool, dark, frost-free spot that stays between 40 and 50 degrees Fahrenheit.
Too warm, and tubers may sprout early or start to rot. Below freezing, they turn to mush the moment they thaw.
Unheated basements, insulated garages, and crawl spaces often land in the sweet spot. Set a cheap thermometer nearby and peek at it now and then, especially during cold snaps or a strangely warm winter week.
11. Balance the Humidity
Dahlia tubers are a little like Goldilocks. They want air that is damp, but not too damp, somewhere around 80 to 90 percent humidity.
Very dry rooms leave tubers wrinkled and hollow. Very wet rooms lead to mold and rot.
Your packing material does a lot of the balancing for you. A small hygrometer, often just a few dollars, can tell you whether your space leans dry or damp so you can adjust before the tubers show stress.
12. Check on Them Every Month
Out of sight should never mean out of mind. Set a reminder on your phone to check your tubers about once a month all winter.
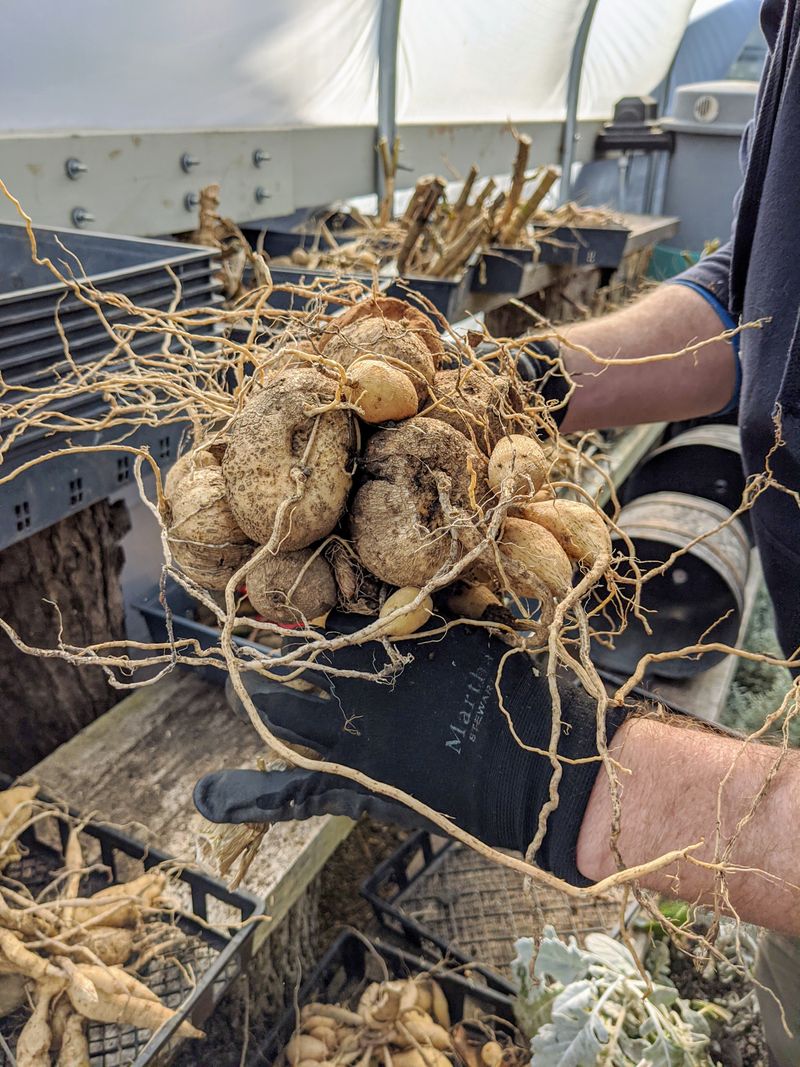
Gently squeeze a few. Healthy ones feel firm, like a raw potato.
Watch for soft spots, dark patches, fuzzy mold, a sour smell, or deep wrinkles. Catching a problem in December gives you a fighting chance, while finding it in April usually means it is too late.
13. Fix Problems Right Away
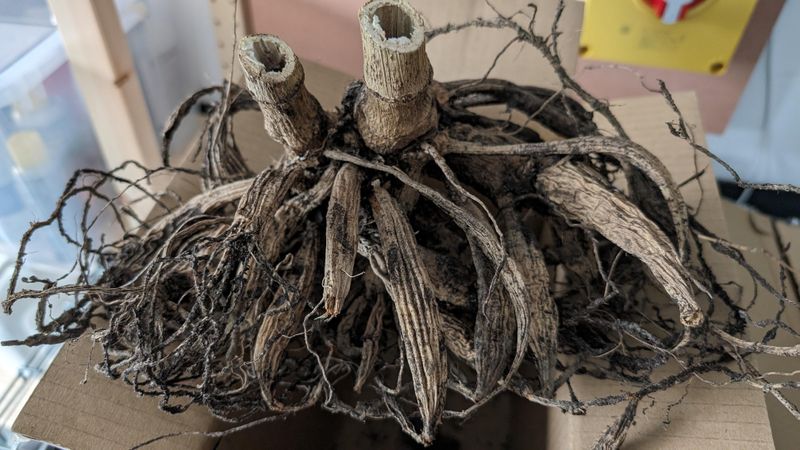
Finding trouble is not a failure, it is the whole point of checking. What matters is how fast you act.
Remove any mushy, rotting tuber immediately and throw it away. If a tuber has surface mold but still feels firm, wipe it clean, let it dry, and move it to a slightly drier spot.
Shriveled tubers usually mean the air is too dry. Lightly mist the packing material, not the tubers themselves, or set a bowl of water nearby.
With quick fixes like these, your dahlias can come out of winter firm, healthy, and ready to bloom again.