
Your Lawn Mower Shouldn’t Go Into The Shed Like That – 11 Winter Storage Steps For An Easy First Spring Start
Picture the first warm Saturday of spring, your tomatoes and hydrangeas waking up, and your mower refusing to start no matter how hard you pull the cord. That headache usually starts in the fall, when the mower gets pushed into the shed with old gas, wet grass, and a dull blade.
A little care now can save you a repair bill and a frustrating morning later. These 11 simple steps will help your mower sleep safely through winter and roar back to life on the first pull.
1. Scrape And Clean The Deck
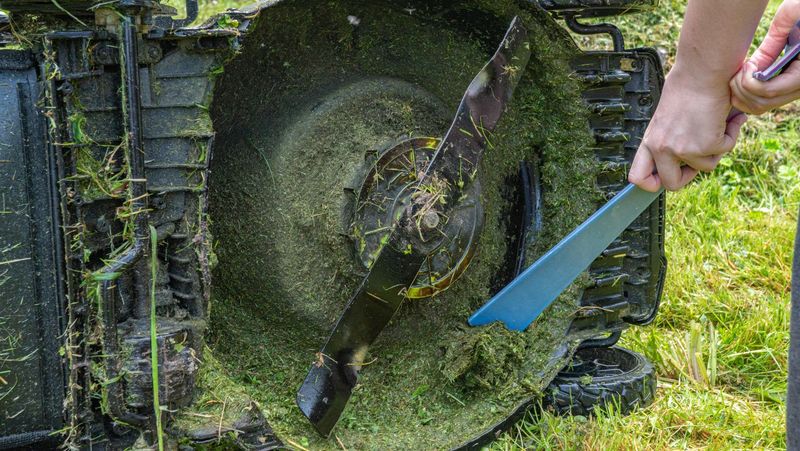
Ever flipped a mower over in spring and found a crusty green cake glued to the deck? That mess started as a few damp clippings in October.
Over winter, wet grass holds moisture against the metal and slowly invites rust.
Start by pulling the spark plug wire so the engine cannot fire by accident. Tip a gas mower with the carburetor and air filter facing up, so oil and fuel do not leak where they should not.
Then scrape the underside with a putty knife or plastic scraper, and brush out the discharge chute.
A quick rinse with the hose finishes the job. Let it dry completely in the sun or a breezy garage before storing it.
A clean deck also cuts better next year, since clumps can block airflow and leave ragged patches in your lawn.
2. Stabilize Or Drain The Fuel
Gasoline goes stale faster than most people expect. Untreated fuel can start breaking down in about 30 days, leaving behind gummy varnish that clogs tiny passages in the carburetor.
That sticky residue is the number one reason mowers refuse to start in spring.
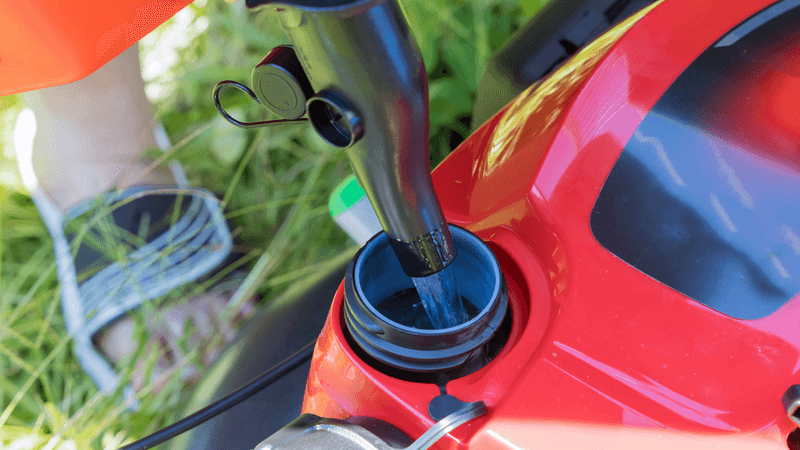
You have two good choices. The first is to fill the tank with fresh gas, add a fuel stabilizer, and run the engine for 5 to 10 minutes so the treated fuel reaches every part of the system.
Stabilized fuel can stay usable for many months, and a full tank leaves less room for moisture to condense.
The second option is to drain the tank and run the mower until it stalls on its own. Many walk-behind owners like this method because nothing is left to go bad.
Pick one approach and stick with it, since either beats leaving half a tank of plain gas sitting all winter.
3. Change The Oil
Think of old engine oil like dirty dishwater. After a summer of mowing, it carries tiny bits of metal, dust, and burned fuel that can wear down engine parts while the mower sits.
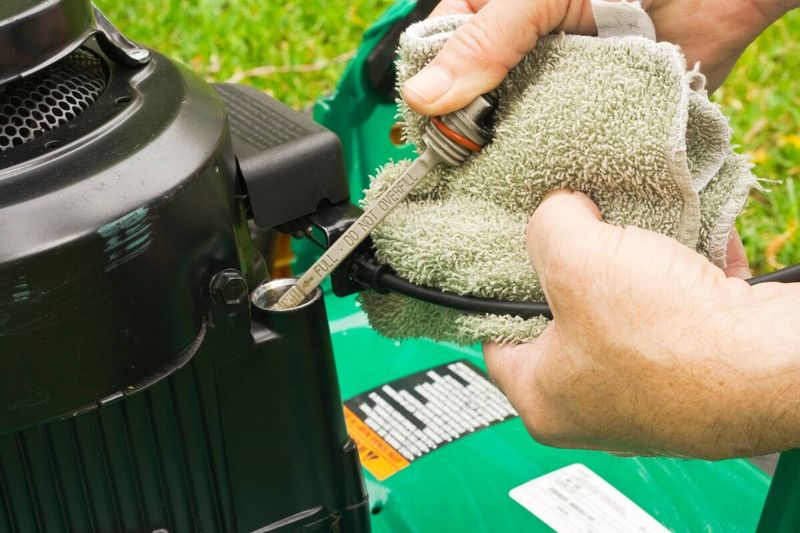
Fall is a handy time to swap it out. Run the engine for a couple of minutes first, because warm oil flows out faster and carries more grime with it.
Drain it into a pan, add fresh oil to the level your manual recommends, and replace the filter if your model has one.
Fun fact: many small push mowers have no oil filter at all, so the oil itself does all the cleaning work. Take used oil to an auto parts store or recycling center rather than pouring it out.
Fresh oil means your engine wakes up in spring protected instead of soaking in sludge.
4. Pull Or Maintain The Battery
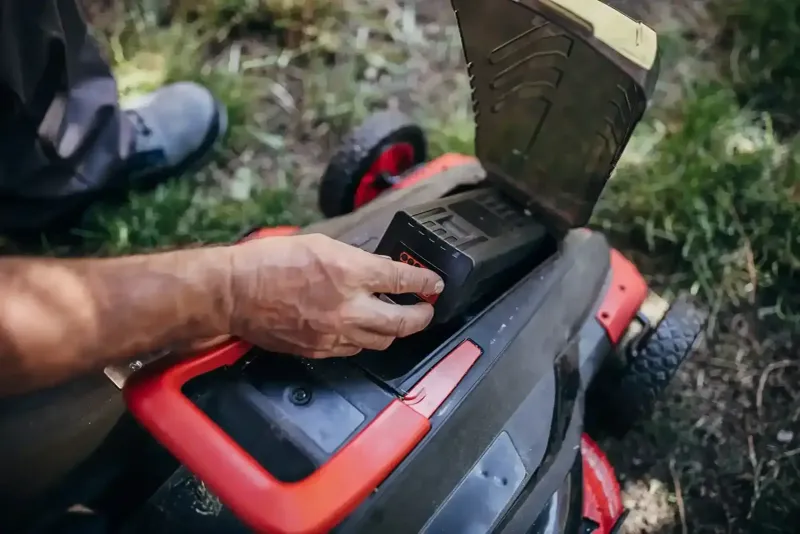
Cold is rough on batteries. A battery left in a freezing shed can slowly drain, and a drained battery can freeze and crack for good.
For riding mowers, disconnect the negative cable first, then the positive. Clean the terminals with a wire brush, charge a lead-acid battery fully, and store it somewhere cool and dry, roughly between 40 and 80 degrees.
Lithium-ion packs from cordless mowers usually prefer a partial charge, around 40 to 50 percent, so check your manual.
Not keen on lugging the battery inside? Hook it to a trickle charger or battery maintainer instead, which keeps it topped up all winter.
Either way, a quick check every couple of months is enough to catch trouble early.
5. Sharpen Or Replace The Blade
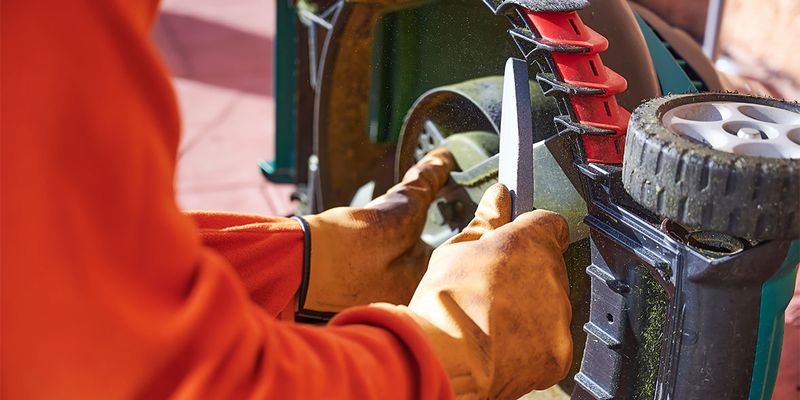
Look closely at grass after a cut with a dull blade and you will see torn, brown tips. Ragged cuts stress the lawn and make the engine work harder.
Winter is the perfect quiet window to fix it. With the spark plug wire off, remove the blade and check it for nicks, bends, or cracks.
Sharpen it with a file or grinder, or simply buy a new one if it is badly damaged.
Always wear thick gloves, since even a dull blade can slice a hand. Then hang it up or reinstall it, and you will start spring with a clean, crisp cut instead of a chore waiting on your list.
6. Refresh The Air Filter
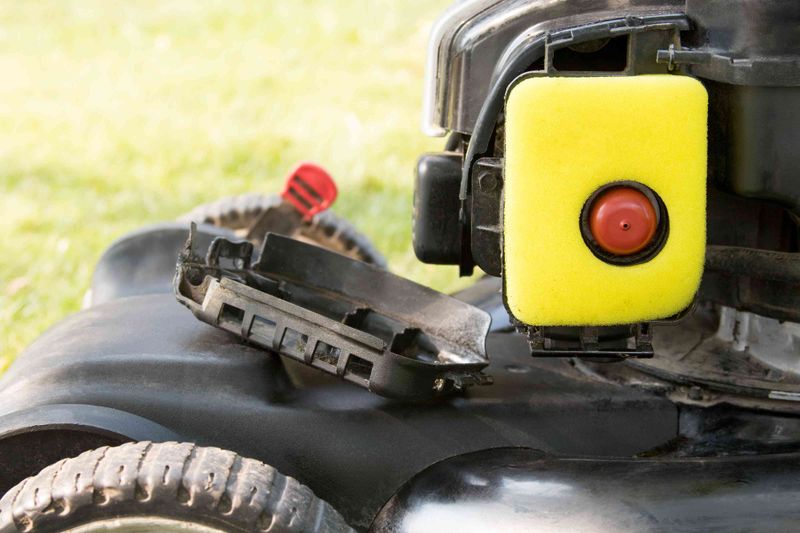
Your mower breathes just like you do. A filter packed with dust and pollen chokes the engine, which leads to rough running, smoke, and wasted gas.
Pop off the cover and take a look. Paper filters should be replaced when they look gray or clogged.
Foam filters can be washed in warm soapy water, dried completely, and lightly coated with a bit of engine oil before going back in.
It takes about five minutes and costs very little. That small effort pays off the moment you pull the cord next spring.
7. Swap The Spark Plug
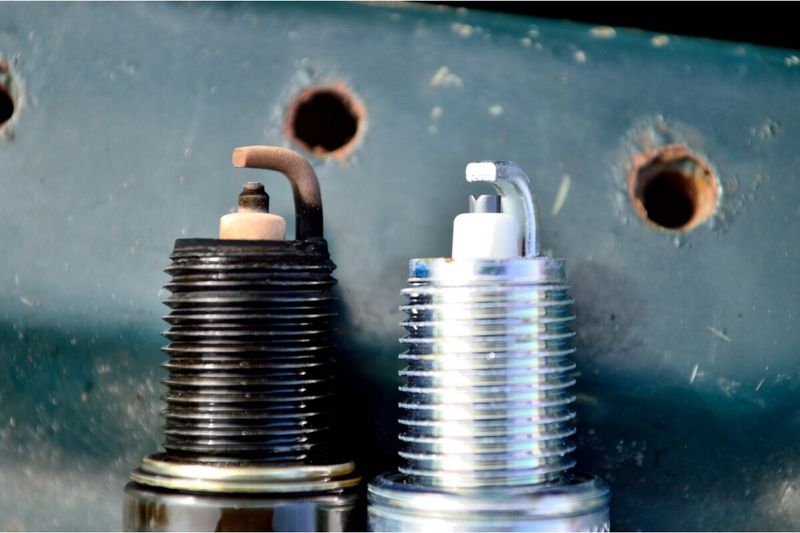
Here is a part that costs a few dollars yet decides whether your mower starts on the first pull or the fifteenth. The spark plug lights the fuel, and a worn or sooty one fires weakly.
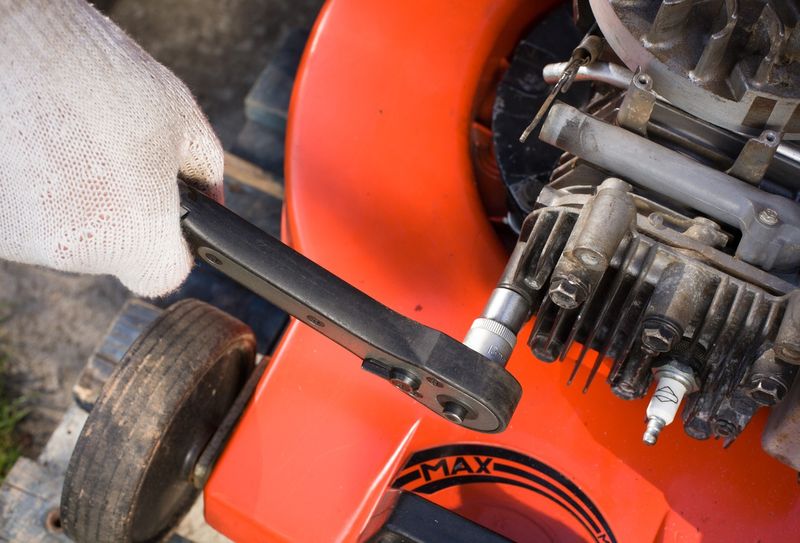
Most makers suggest replacing it once a year or every 25 to 30 hours of use. Disconnect the wire, unscrew the old plug with a socket wrench, and thread in a new one by hand before snugging it down.
Bring the old plug to the store so you match the right size.
Doing this in fall means one fewer thing to remember when the grass is already shin-high. Many people leave the wire unhooked until spring as an extra safety step.
8. Top Off And Protect The Tires
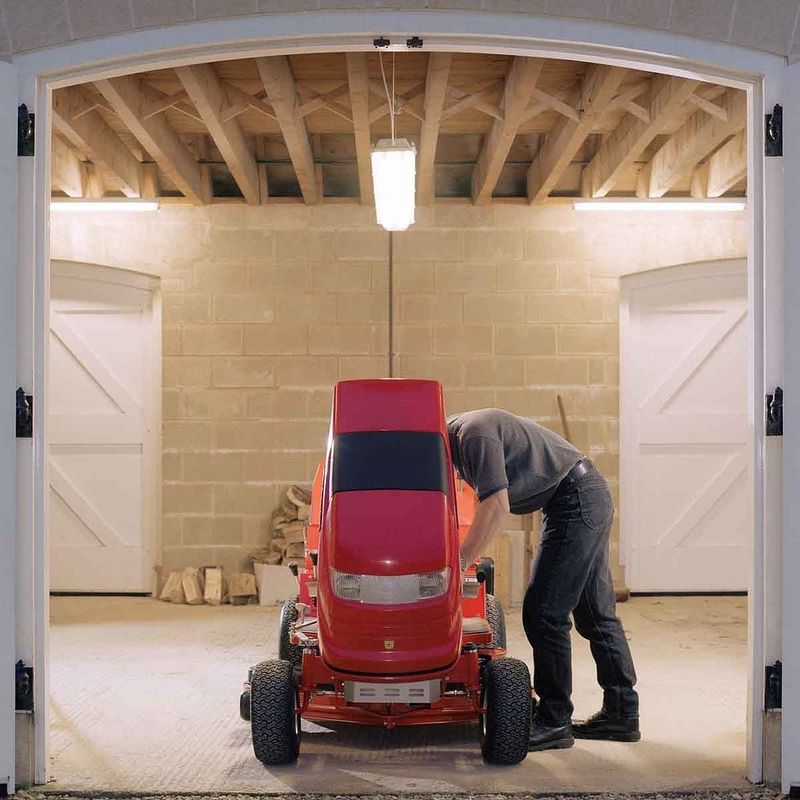
A riding mower parked in one spot for four months can develop flat spots, and soft tires make it worse. Cold air also lowers tire pressure, so a tire that looked fine in October may sag by January.
Fill each tire to the pressure listed in your manual or on the sidewall. If you can, raise the mower on blocks to take the weight off.
Otherwise, roll it a foot or two each month so the same patch of rubber is not bearing the load.
Check pressure once or twice during winter. Healthy tires mean the mower rolls smoothly and cuts evenly when you head out for the first spring trim.
9. Oil The Moving Parts
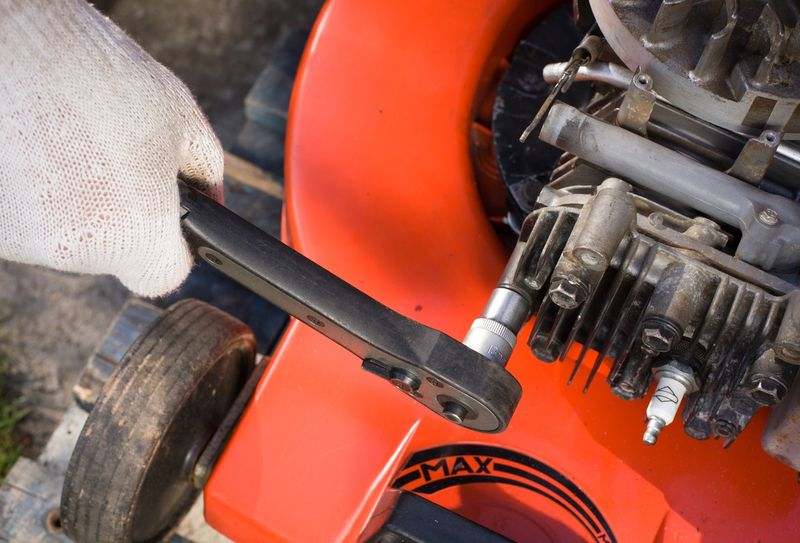
Squeaky wheels and stiff height levers are small annoyances that grow into rusty, stuck parts after a damp winter. A few drops of oil now keep everything moving freely.
Hit the wheel axles, height adjusters, hinges, and any pivot points you can reach. Use light machine oil or a spray lubricant, and wipe off extra so it does not collect dirt.
Grease fittings on riding mowers can get a pump or two from a grease gun.
It is a quick, almost satisfying job. In spring, you will notice the difference when the mower rolls out without a single groan.
10. Guard The Control Cables

Few people think about the thin cables running along the handle, until the throttle sticks or the self-propel lever stops working. Moisture creeps into those cables and can rust them from the inside.
Work a little grease or cable lubricant where each cable slides into its housing. Move the levers back and forth a few times to spread it inside.
Look for frayed spots or kinks while you are there, since a damaged cable is easier to replace now than in the middle of mowing season.
Protected cables mean the controls respond smoothly when you need them. It is a tiny step with a big payoff in comfort.
11. Store It Dry And Covered
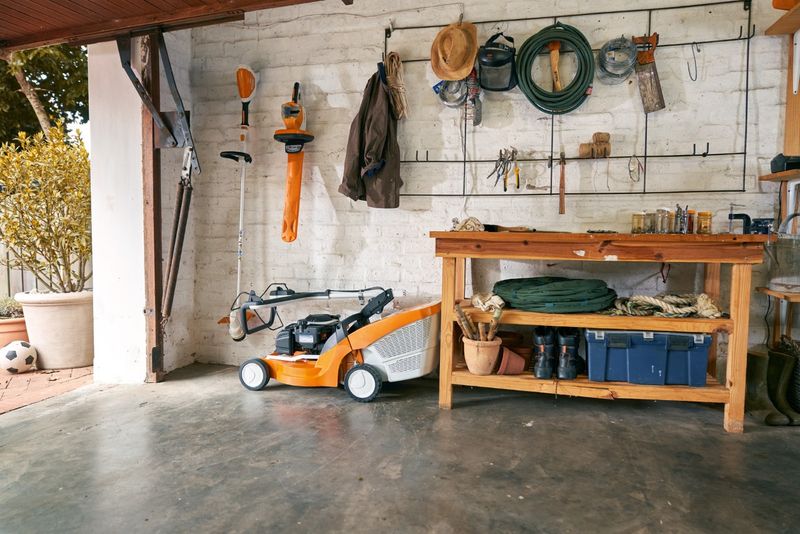
All that careful prep can be undone by a leaky roof or a corner beside a bag of fertilizer. Where the mower rests matters as much as how you prepared it.
Choose a dry shed or garage that keeps out rain, snow, and freeze-thaw cycles. Add a breathable waterproof cover to block dust and drips.
Keep it away from fertilizers, pool chemicals, and salt, which can corrode metal over time, and away from furnaces or anything with a pilot light.
Now your mower can rest easy until spring. When the hydrangeas leaf out and the lawn turns green, you will be ready with a machine that starts right up and gets you back to the garden work you love.