
The Messy Black Walnut Chore North Carolina Homeowners Skip That Turns Fallen Nuts Into Winter Snacks
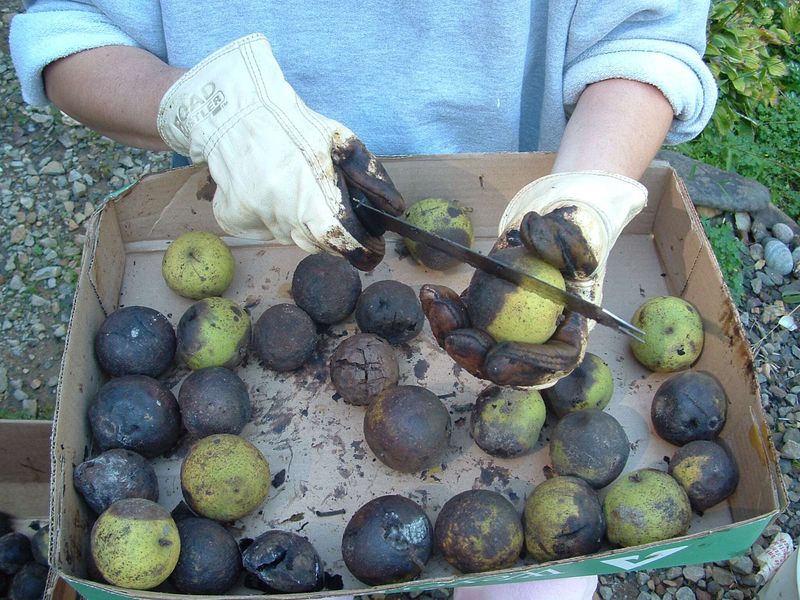
Those green-black balls littering your lawn each fall are the start of a real backyard harvest. Black walnuts take work, stain your hands, and need weeks of patience before they are ready to crack.
Still, a weekend of gathering and hulling can set you up for homegrown nuts by winter. Here is how to take it one step at a time.
The fall harvest window is broader than one weekend
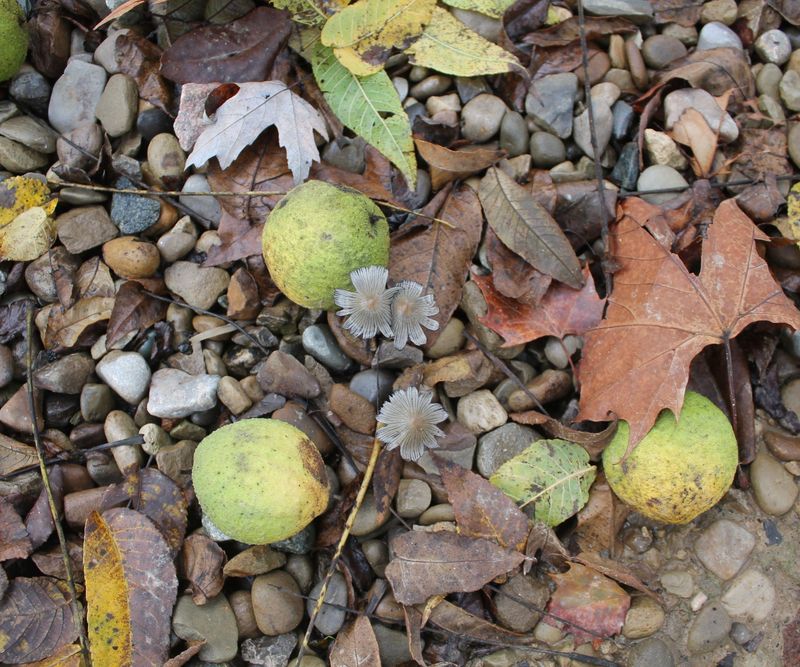
A black walnut tree in your North Carolina yard can give you an edible harvest, but the calendar is looser than you might expect. NC State’s gardener handbook lists August through September and notes that ripe nuts fall from the tree.
Its Plant Toolbox entry describes the fruit showing up in October.
Those two descriptions do not match, and that is fine. Treat fall as a broad window that shifts with the year, your tree, and where you live, whether that is the Piedmont, the Coastal Plain, or the mountains.
Walk under the tree often instead of waiting for one magic weekend.
Here is a handy ripeness clue. Press a thumb into the green husk of a fallen nut.
If the husk dents easily, the nut is likely ready to process. A rock-hard husk usually means it needs more time.
Keep your expectations realistic from the start. A ripe nut on the ground is not a snack yet.
It is the first step in a longer process of hulling, washing, sorting, curing, and cracking. Picking up nuts this weekend begins that chain, and the payoff arrives later, once winter gets close.
The messy work begins with prompt pickup and hulling
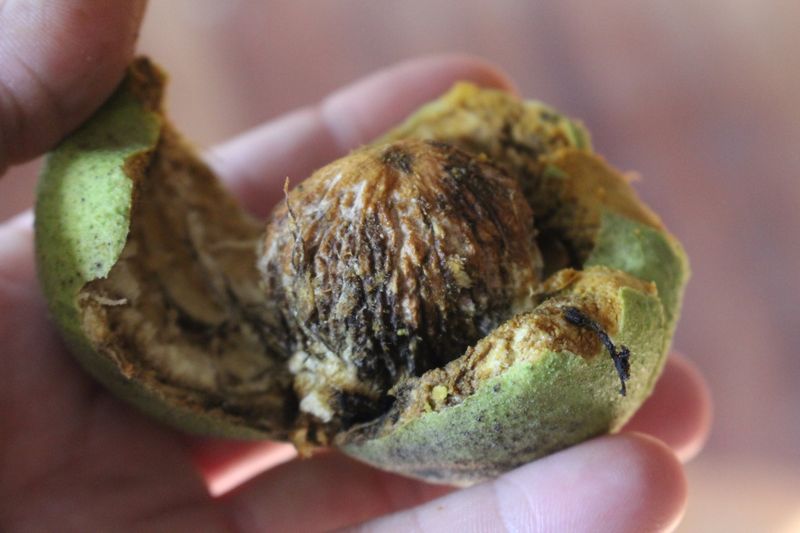
Once you have gathered the fallen nuts, the husks need to come off soon. NC State advises prompt pickup and hulling, and it warns that the husks can irritate skin.
Put on rubber gloves before you start, and wear clothes you do not mind ruining.
The husk dye is no joke. Extension sources, including Iowa State, note that it stains hands, clothing, and surfaces.
Work on a spot you do not care about, like an old tarp or a patch of gravel, and keep it away from a porch or light concrete.
A stain is just dye. It tells you nothing about whether a nut is good or harmful, so do not read anything into the color on your fingers.
Hulling takes real effort. Depending on how soft the husks are, you might stomp, roll, or peel them off, and a batch of nuts can eat up a good chunk of a day.
K-State Extension also covers preparing newly fallen nuts. Pace yourself, take breaks, and expect your back to notice.
Wash and screen the nuts before you invest in curing
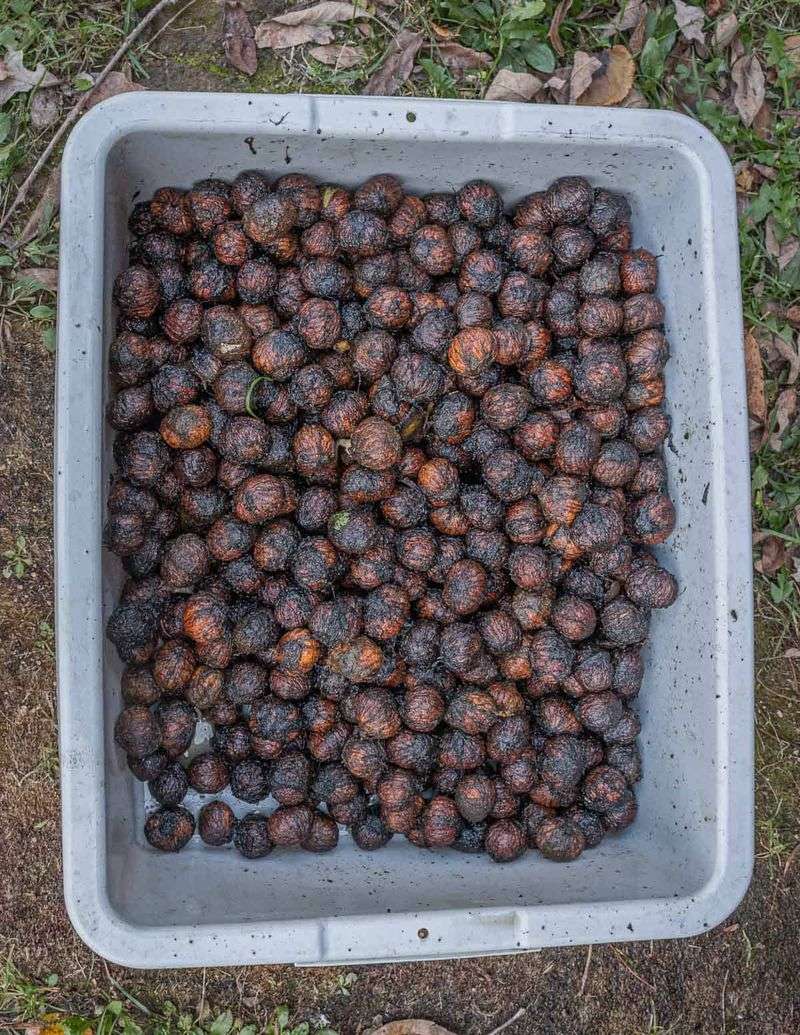
With the husks off, rinse the nuts to wash away leftover residue. A hose and a sturdy bucket work fine.
Scrub gently if bits of husk cling to the shell.
Next comes a simple screening step. Both Iowa State and K-State suggest putting the nuts in water.
Floating nuts are likely empty, so you can skim them off and save yourself the weeks of curing.
Keep in mind that this is only a screen. A nut that sinks is not guaranteed to be sound, and you may still find a bad one when you crack it later.
This float test is separate from the mold check. If you see visible mold on any nut, throw it out, no matter whether it sank or floated.
Washing does not make a moldy nut safe to eat.
After sorting, you will have a bucket of sinkers that are worth the wait. That is the batch to carry into the curing stage.
A shallow, ventilated cure takes weeks
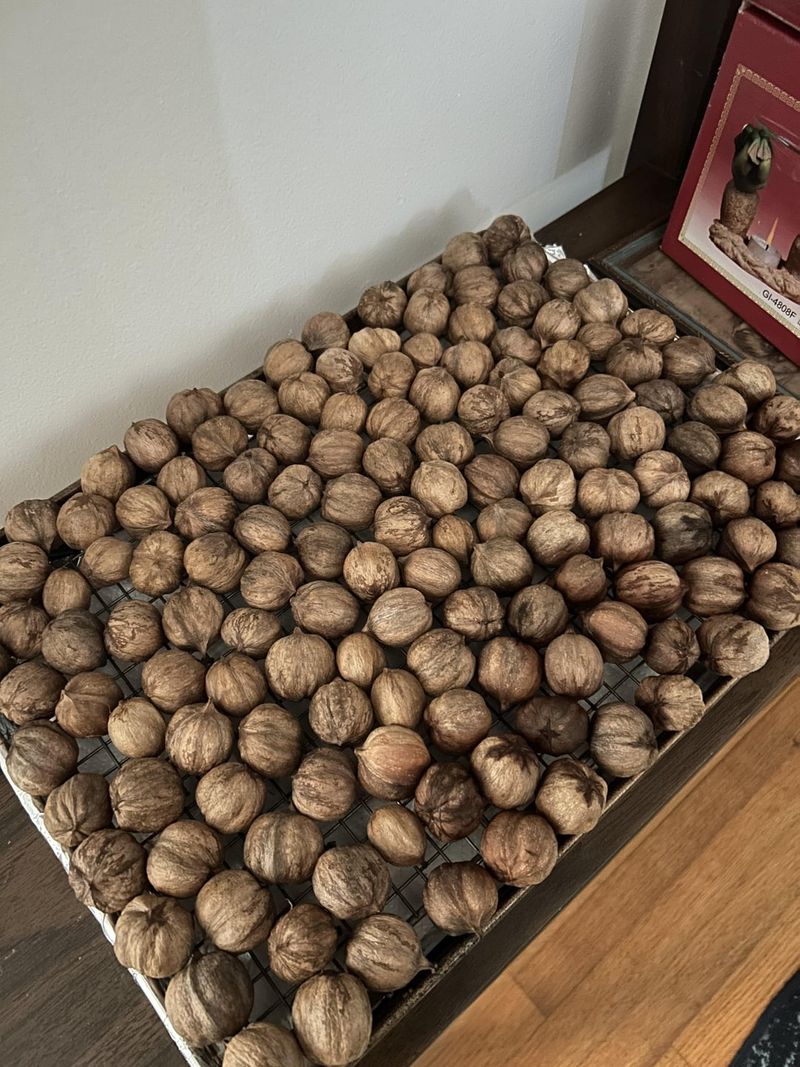
Now the waiting game starts. Spread your washed, in-shell nuts in a shallow layer, no more than about three nuts deep.
Choose a cool, dry, well-ventilated place such as a garage, shed, or covered porch, and use a mesh tray or screen so air can move around the nuts.
Extension guidance puts the cure at roughly two to three weeks. Iowa State gives that range, while K-State says about two weeks.
Humidity and temperature in your space can change the timing, so there is no exact finish date.
Check the tray every few days. Stir the nuts a little and look for anything that seems off.
Pull out any nut with visible mold and discard it.
This is where the weekend ends and patience takes over. You can finish the gathering, hulling, washing, and sorting in a couple of days, but the nuts will not be ready for cracking until the cure is done.
Mark the date on a calendar so you remember when to check them.
A little planning now means kernels in your kitchen later in the season.
Cracking the shell is its own patient job
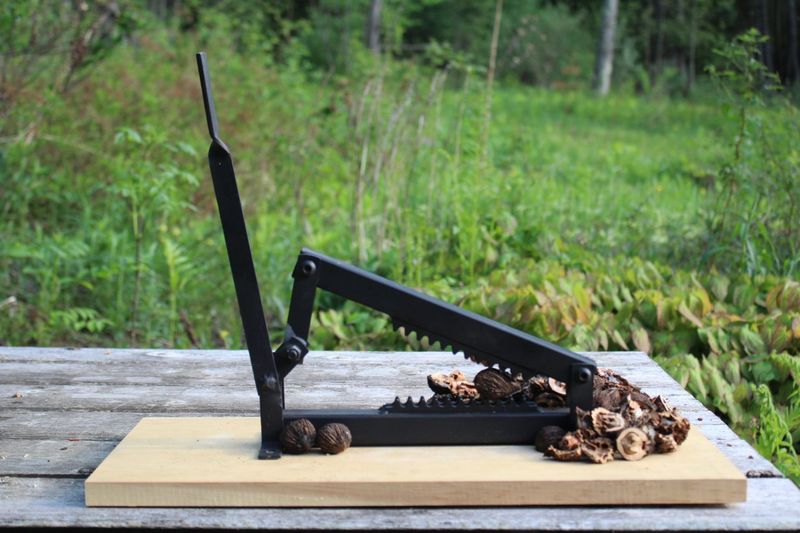
Black walnut shells are famously tough. Plan on a sturdy nutcracker or a hammer, and expect to work through the pile a few nuts at a time.
Curing does not hand you ready-to-eat kernels, so this stage is a job all its own.
Here is a tip from Iowa State. Soaking the dried nuts in water for one or two hours before cracking can cut down on kernel breakage.
That means more whole halves and fewer crumbs.
Wear eye protection, since shell fragments can fly. A towel under your work surface helps keep things steady and tidy.
Pick out shell bits carefully, because small pieces hide easily among the kernels.
Once you have your kernels, store them in the freezer for the long term. Refrigeration is better suited to short-term storage.
Pack them in airtight containers or freezer bags so they stay fresh.
Cracking is slow, so turn on a podcast or invite a friend. A cold evening with a bowl and a nutcracker is a fine way to spend a winter weekend.
Discard moldy nuts and keep risky debris from pets

If a nut has visible mold, throw it away. Maine Extension advises discarding moldy black walnuts because mold may also be inside the shell, and some nut molds can produce harmful toxins.
Washing or shelling does not make a visibly moldy nut safe.
Pets are a separate concern. The ASPCA lists black walnut as toxic to dogs and horses, though the toxic principle is unknown.
It also flags moldy nuts and hulls as a risk for dogs.
A review of 93 dog cases found that vomiting was commonly reported after eating nuts or hulls, while neurologic signs were more common after exposure to wood. That does not prove every fresh kernel is poisonous, but it is a good reason to be careful.
Keep hulls and moldy nuts out of your dog’s reach. Bag the debris, close the lid on the trash can, and clean up the yard where the dog roams.
If you think your pet ate some, call your veterinarian or a poison-control service right away.
Remember that the dark stain on your hands is only dye. It does not measure how toxic anything is.
A weekend can start a winter harvest, not finish it
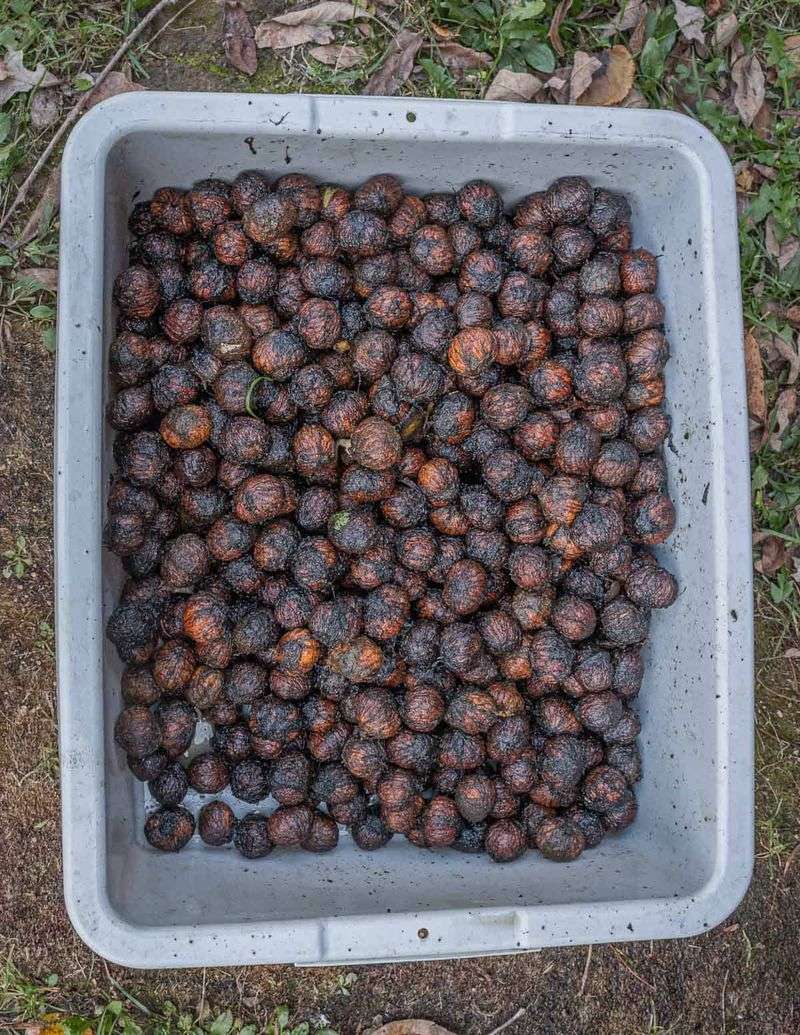
The path runs like this: gather, hull, wash, screen, cure, then crack and store. A weekend covers the first few steps, and the cure and cracking stretch across the weeks that follow, as Iowa State lays out.
Your yield will depend on the tree and the year.
Stained fingers and sore hands come with the territory. Do the work in stages, and a jar of homegrown kernels may be waiting when the cold sets in.