
The One Thing North Carolina Beets Need When You Seed Them In August Or They Turn Woody And Bitter
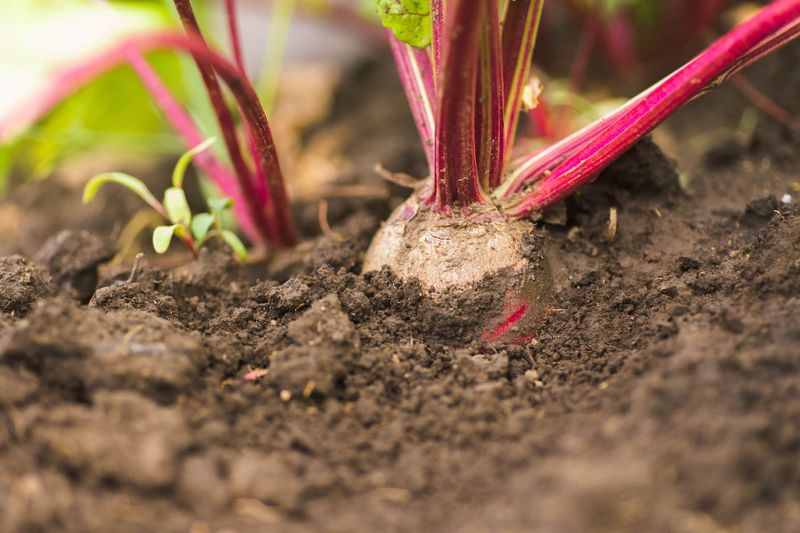
Growing beets in North Carolina during late summer sounds risky, but the real story is more encouraging than the warning suggests. Beets are cool-season crops that thrive in fall gardens across the Piedmont, Coastal Plain, and mountain regions, as long as you match your planting window to where you live.
The catch is that heat and uneven moisture, not just a missed calendar date, are what push roots toward a coarse, unpleasant texture. Get the timing and the watering right for your part of the state, and you give your fall beets a strong shot at coming in tender and flavorful.
Late August is a regional target, not a statewide beet deadline
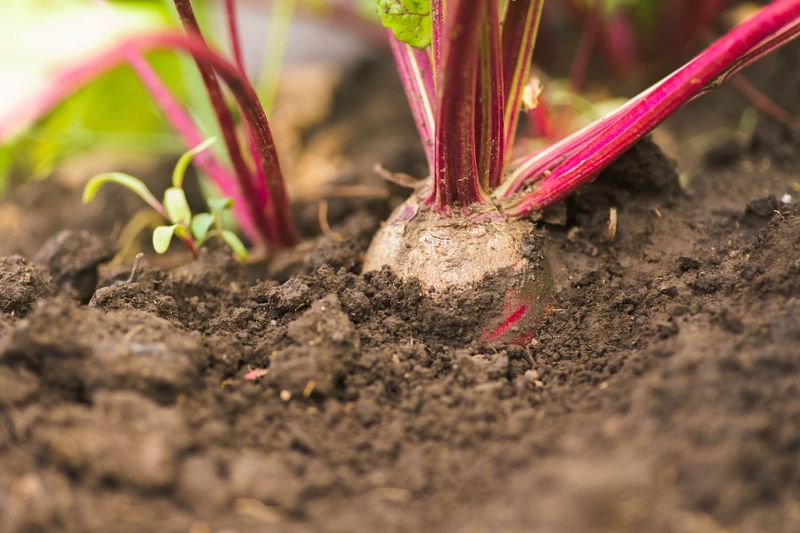
Beets belong to the cool-season category, which means they struggle through summer heat but bounce back beautifully when fall temperatures arrive. North Carolina gardeners across all three regions, the Piedmont, the Coastal Plain, and the mountains, can grow them as a fall crop, but the planting windows are not identical from one end of the state to the other.
NC State’s guidance for fall gardens places 60- to 80-day crops around August 1 for Piedmont gardeners, according to NC State Extension’s vegetable gardening handbook. That same guidance adjusts the target roughly 10 to 20 days earlier for western North Carolina and 7 to 14 days later for the Coastal Plain.
August 1 is a useful benchmark for one region, not a do-or-die date for the whole state.
The eastern North Carolina planting calendar makes this especially clear: it lists beets as a fall-seeded crop from August into September for that region. A gardener in Wilmington or New Bern who seeds beets in early September is not planting late.
They are planting right on schedule for where they live.
The most reliable way to find your personal target date is to count backward from your local frost date. Check when your first fall frost typically arrives, then look at the seed packet’s days-to-maturity number, and add a week or two as a buffer.
That calculation gives you a planting deadline that accounts for both your climate and the specific variety you chose.
According to the NC State Plant Toolbox entry for beets, maturity ranges from about 50 to 80 days after germination depending on the variety. A faster variety like Early Wonder gives you more flexibility; a slower one like Chioggia needs more lead time.
Treating any single calendar date as a universal cutoff ignores both regional climate differences and the real variation in how long different beet types take to mature.
Heat and water stress can make beet roots coarse
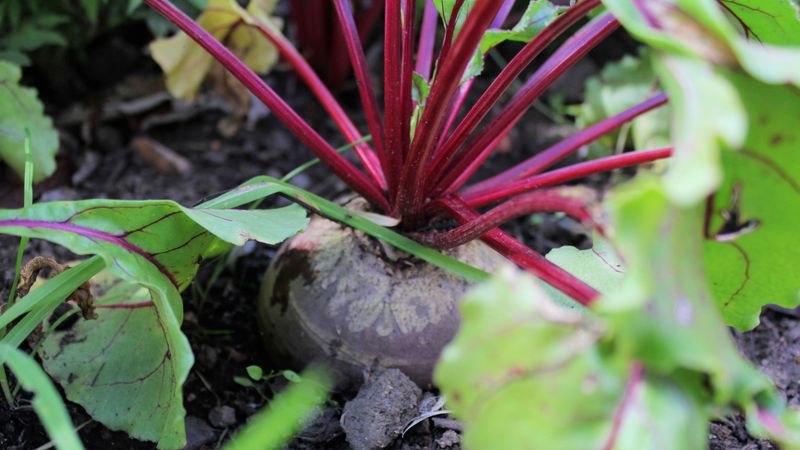
Planting date gets most of the blame when fall beets come out tough or unpleasant, but the real culprits are usually heat and inconsistent moisture. Those two stressors, working alone or together, are well-documented causes of coarse, woody, or fibrous roots.
Utah State University Extension’s beet-growing guide notes that moisture fluctuations can cause cracking, slow leaf growth, and reduced yields, and that water stress during the first six weeks can contribute to premature flowering and poor production. Premature flowering, also called bolting, redirects the plant’s energy away from root development and toward seed production, which leaves you with a tough, underdeveloped root.
Oversized roots and delayed harvest are separate but related contributors to the same problem. Beet roots that stay in the ground past their peak size gradually become more fibrous as the plant continues to push resources into them.
This is a mechanical process that happens regardless of how well you watered or when you planted.
The texture problem and the bitterness problem are not the same thing, and conflating them leads gardeners toward the wrong fixes. Virginia Cooperative Extension’s root crops guide addresses quality issues in beet roots in terms of toughness and fiber.
Bitterness, the kind that makes a vegetable genuinely unpleasant to eat, is more consistently documented in heat-stressed leafy cool-season crops like lettuce and spinach. Poor growing conditions can reduce overall beet quality, but labeling every problem root as bitter misidentifies what is usually a texture issue.
Hot soil also creates a separate germination challenge. Penn State Extension’s seed and seedling biology resource explains that soil temperature affects germination rate and success.
When the seedbed stays too warm, beet seeds may germinate slowly, unevenly, or not at all. That is a germination problem, not a root-quality problem, but it can set back your crop before the roots ever form.
Keeping the seedbed cooler during establishment helps both germination and, indirectly, the early growth period when roots are most sensitive to stress.
Direct sowing helps beet roots develop normally
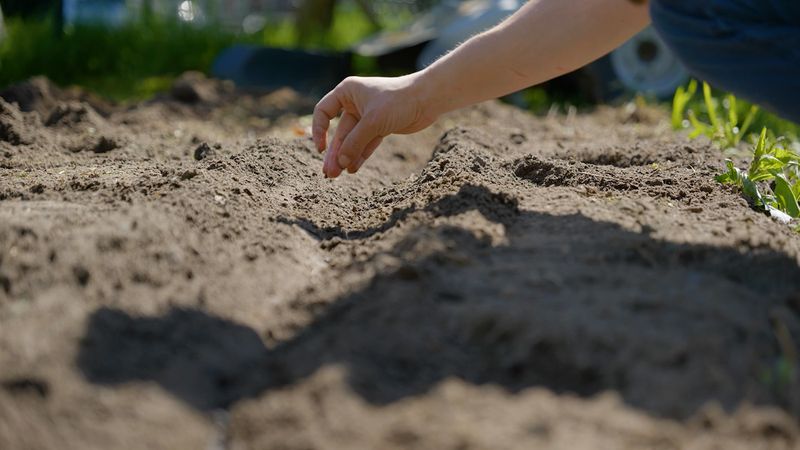
Once you have your planting window figured out, the next step is getting seeds into the ground the right way. Beets do not transplant well.
Moving seedlings disturbs the developing taproot and can cause forking, stunted growth, or outright failure. Sow seeds directly in the spot where you want the roots to grow.
Prepare a loose, workable seedbed before you sow. Beet seeds need good soil contact to germinate reliably, so break up any clods and remove rocks or debris that could deflect a developing root.
The NC State Plant Toolbox recommends direct seeding as the standard approach for exactly this reason: root crops form best when they are never moved.
August seedbeds in North Carolina are warm, and that creates a real challenge. The soil surface can dry out fast and heat up enough to reduce germination.
NC State’s vegetable gardening handbook addresses this directly, recommending that fall gardeners try sowing seeds a little deeper than they would in spring and using a temporary cover of burlap, damp newspaper, or boards over the seeded row to hold moisture and shade the soil surface, as described in the NC State Extension vegetable gardening handbook.
The cover is not permanent. Check the row every day, and pull the covering off as soon as you see seedlings beginning to push through the soil.
Leaving it on too long traps heat and can cook emerging seedlings or cause damping off. The goal is to get seeds through the critical first few days of germination without the surface drying out or baking in the afternoon sun.
Consistent moisture at this stage matters more than almost anything else. Even a few hours of surface dryness can interrupt germination in progress, leading to patchy stands that are harder to thin and harder to manage through the rest of the season.
Maintain even moisture through hot weather
After seeds germinate and seedlings take hold, keeping moisture levels consistent becomes the single most important ongoing task for fall beets. This is especially true during the warm stretch that follows an August or early September sowing, when daytime temperatures can still push into the 80s and 90s across much of the state.
Repeated cycles of wet and dry soil are hard on beet roots. According to Utah State University Extension’s beet-growing research, moisture fluctuations can cause roots to crack, slow down leaf development, and reduce overall yields.
The same source notes that water stress during the first six weeks of growth can trigger premature flowering, which pulls energy away from root development at exactly the time you need it most.
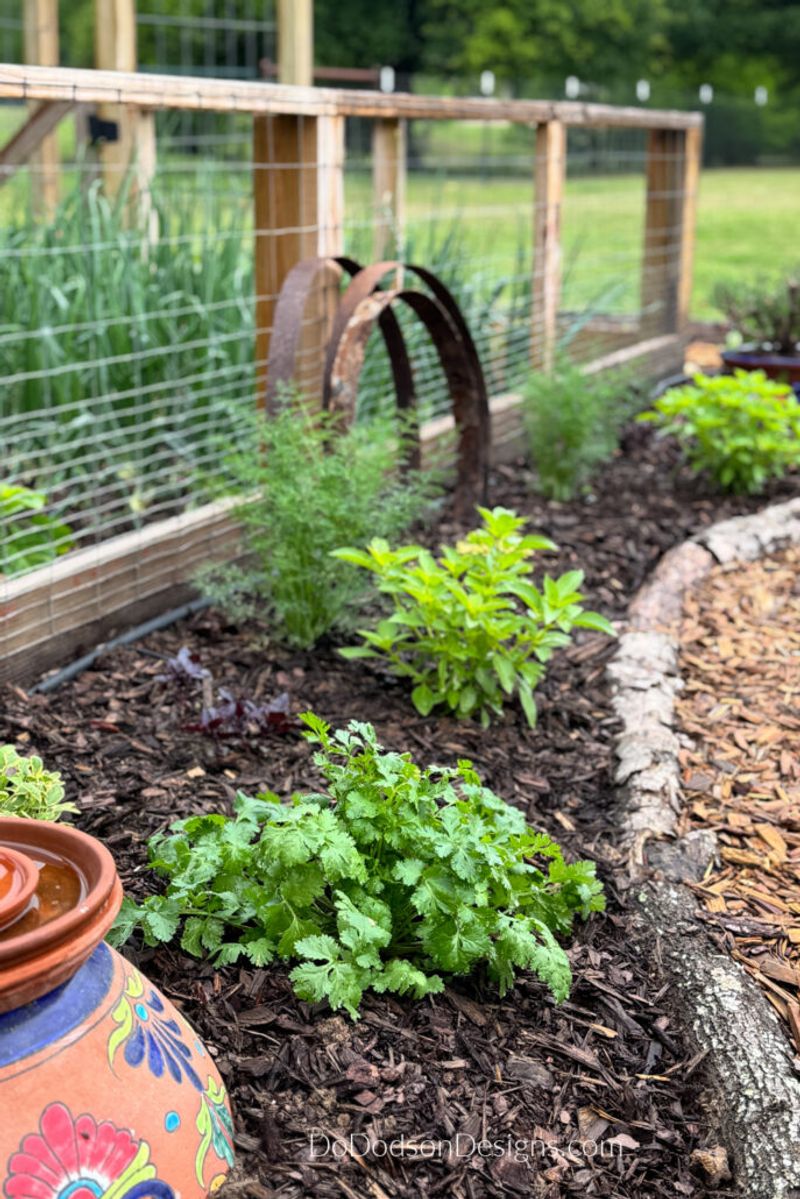
Mulch is one of the most practical tools for managing this in a backyard garden. A 2- to 3-inch layer of straw, shredded leaves, or another organic mulch spread around young plants slows evaporation from the soil surface and buffers temperature swings.
NC State Extension’s vegetable gardening guidance recommends maintaining even moisture through regular watering combined with appropriate mulch, and Utah State Extension identifies mulch as a practical way to conserve soil moisture between waterings.
Keep the mulch pulled back a few inches from the base of each plant so it does not smother the crowns or encourage rot. The goal is to moderate the soil environment, not seal it off entirely.
Watering in the morning gives the soil a chance to absorb moisture before peak heat arrives, and it allows foliage to dry off during the day, which reduces the risk of fungal problems. Avoid letting the garden go bone-dry between waterings, but also avoid keeping it waterlogged.
Beets need steady, moderate moisture, not soaking wet conditions. Even if your timing and soil are ideal, repeated water stress during this window can still push roots toward a coarser texture at harvest.
Thin seedlings and use soil tests to guide inputs
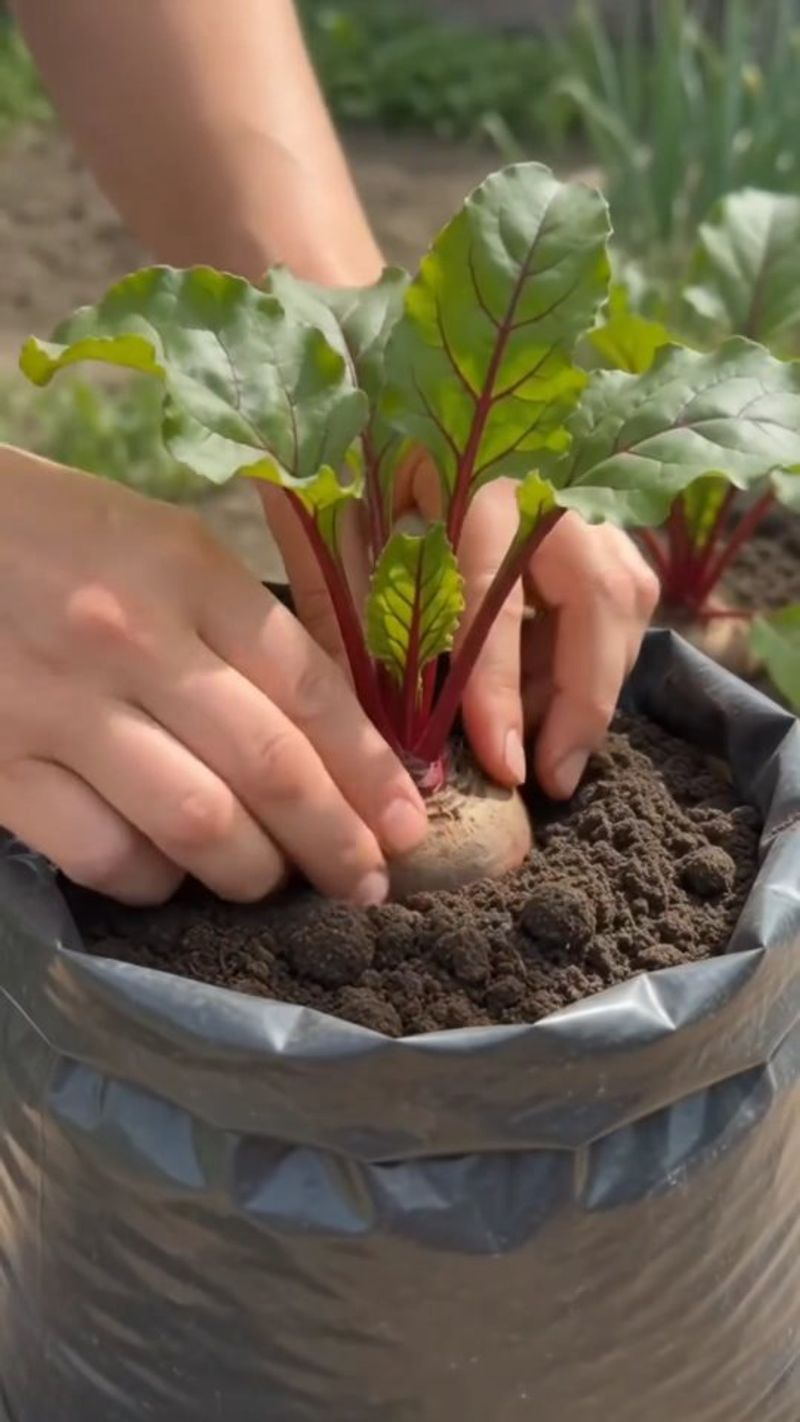
Beet seeds are actually seed clusters, meaning each one you plant can sprout two or more seedlings. Without thinning, those seedlings crowd each other and compete for water, nutrients, and physical space.
Crowded roots end up small, misshapen, or poorly developed, and the plants around them suffer too.
Thin seedlings to roughly 2 to 3 inches apart once they are about an inch or two tall. The NC State Plant Toolbox lists this spacing as standard for beet production.
Snip the extras at soil level with scissors rather than pulling them out, which can disturb the roots of the plants you are keeping. The thinnings are edible and make a good addition to salads.
Soil fertility matters, but the right approach is to test before adding anything. NC State Extension’s guide to soil testing describes laboratory testing as the reliable way to find out your soil’s pH, lime needs, and nutrient levels.
For most North Carolina garden crops, a pH of about 6.0 to 6.5 provides a good growing environment. If your soil is outside that range, a test result will tell you what to add and how much.
Avoid heavy nitrogen applications. University of Minnesota Extension’s cool-season crop guidance notes that excess nitrogen can interfere with root formation in root crops.
Too much of it pushes the plant toward lush leaf growth at the expense of the root you want to harvest.
Boron deficiency sometimes affects beets, causing internal black spots or distorted growth, but it is a separate, diagnosable problem, not a routine concern. University of Georgia Cooperative Extension’s guide to nutritional deficiencies in vegetables warns that excess boron can cause severe plant injury.
Do not add borax or boron products as a precaution. If you suspect a deficiency based on visible symptoms, get a soil or tissue test and follow a specific recommendation before applying anything.
Harvest roots before they become oversized
Knowing when to pull beets out of the ground is just as important as knowing when to put seeds in. Many gardeners leave roots in the ground too long, either waiting for them to get bigger or simply forgetting to check, and that delay is one of the most reliable ways to end up with tough, fibrous roots at the table.
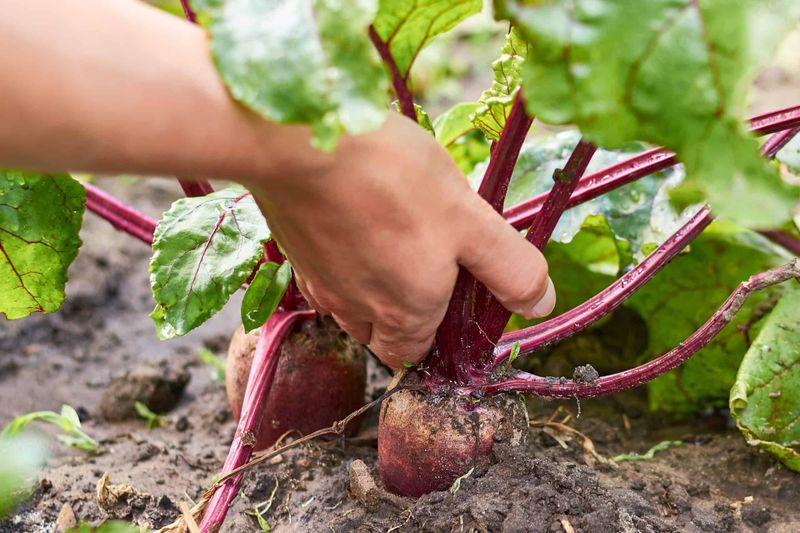
Check the seed packet for the variety’s days-to-maturity estimate, then start checking root size a few days before that window closes. The NC State Plant Toolbox lists a typical harvest range of about 1.5 to 3 inches in diameter.
Pull a root and brush off the soil to check its size rather than judging by the tops alone, since leaf height does not always reflect what is happening underground.
Iowa State University Extension’s beet harvest guidance is direct on this point: roots that grow beyond roughly 3 inches in diameter are increasingly likely to become tough or woody. Virginia Cooperative Extension makes a similar observation, noting that larger roots tend to be less tender.
The window between peak size and oversize can close faster than it seems, especially if a warm spell speeds up growth late in the season.
Harvest on the smaller end of the range if you want the most tender texture. A root at 1.5 to 2 inches across is often more pleasant to eat than one that pushed to 3 inches, even if both technically fall within the recommended window.
Smaller roots also tend to cook more evenly.
Regional sowing, consistent moisture, proper spacing, and timely harvest all work together to improve your odds of tender, good-quality beets. No single practice guarantees a perfect outcome, but pulling roots before they become oversized is one of the most direct actions you can take to protect the quality of what you grew.
Use timing and moisture together for better fall beets
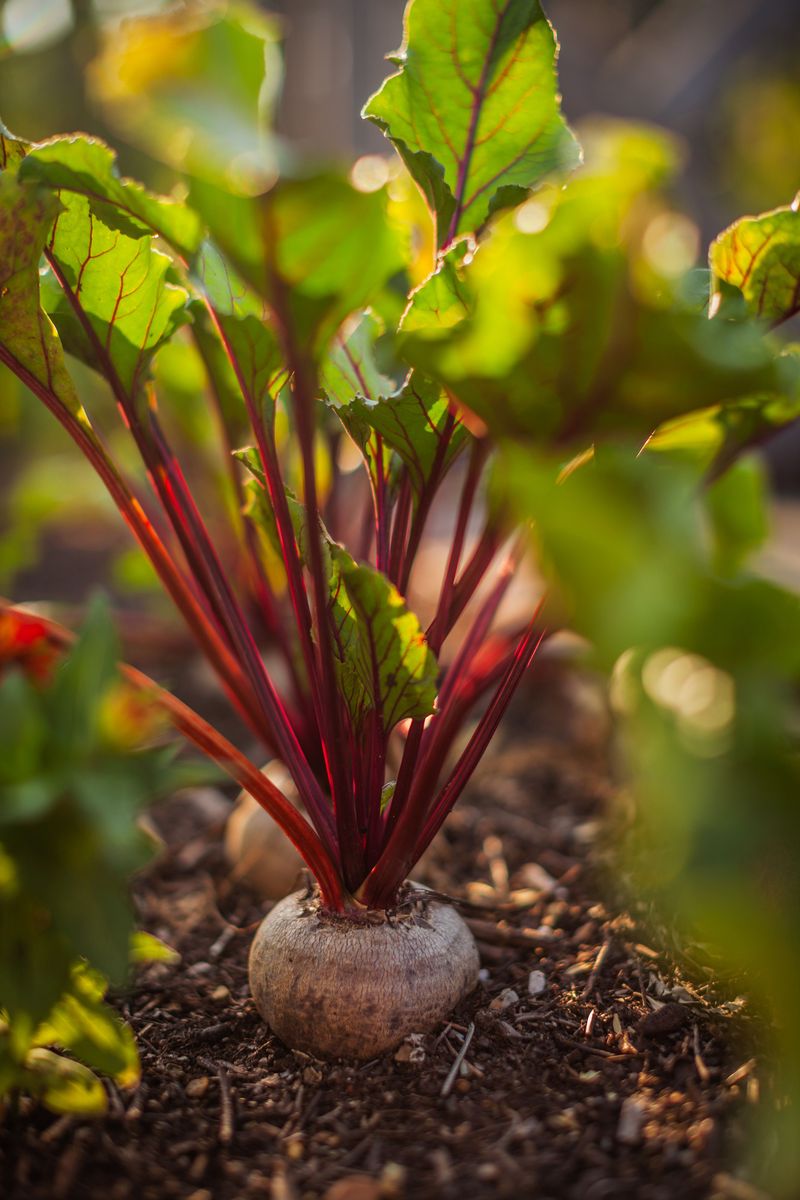
Growing good fall beets in North Carolina comes down to a short list of connected decisions, not a single trick or a universal deadline. Start by finding your regional sowing window, then count backward from your local frost date using the days-to-maturity number on the seed packet.
Protect the hot seedbed with a temporary cover, keep moisture even from germination through harvest, thin seedlings to 2 to 3 inches apart, and check root size regularly so you pull them before they become oversized and fibrous. According to NC State Extension’s vegetable gardening handbook, fall planting dates shift by region, and Utah State Extension’s beet research reinforces that consistent moisture is central to avoiding the stress that produces coarse roots.
North Carolina does not have one statewide beet deadline. A Piedmont gardener, a mountain gardener, and a Coastal Plain gardener are working with different frost dates, different soil temperatures, and different planting windows.
Your next action is simple: find out your local first-frost date, pick a variety with a maturity time that fits your schedule, and sow accordingly. The beets that come out of a well-timed, well-watered fall garden are worth the planning it takes to get there.