
These 8 Coneflower Mistakes Quietly Cost You Next Summer’s Blooms (Fix Them This Fall)
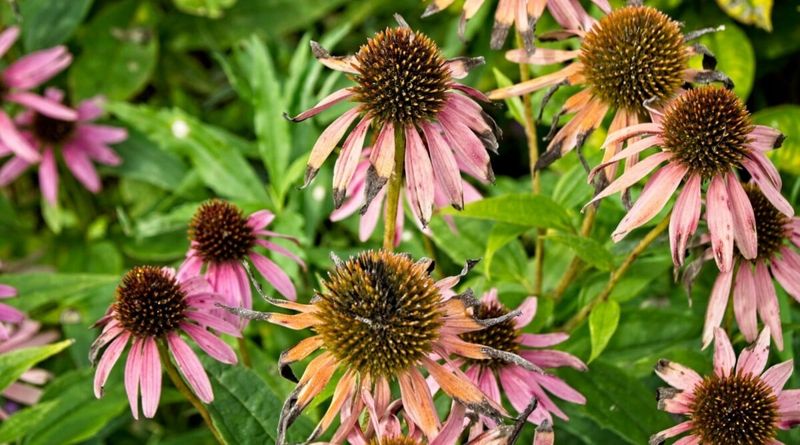
Your coneflowers may look tired and brown right now, but what you do this fall decides how many flowers you get next summer. Many gardeners make small, honest mistakes in autumn that weaken their plants without any warning signs.
The good news is that every one of these slip-ups is easy to fix with a few minutes of work and almost no money. Here are the eight most common coneflower mistakes and exactly what to do instead.
1. Cutting Every Stem to the Ground Too Early
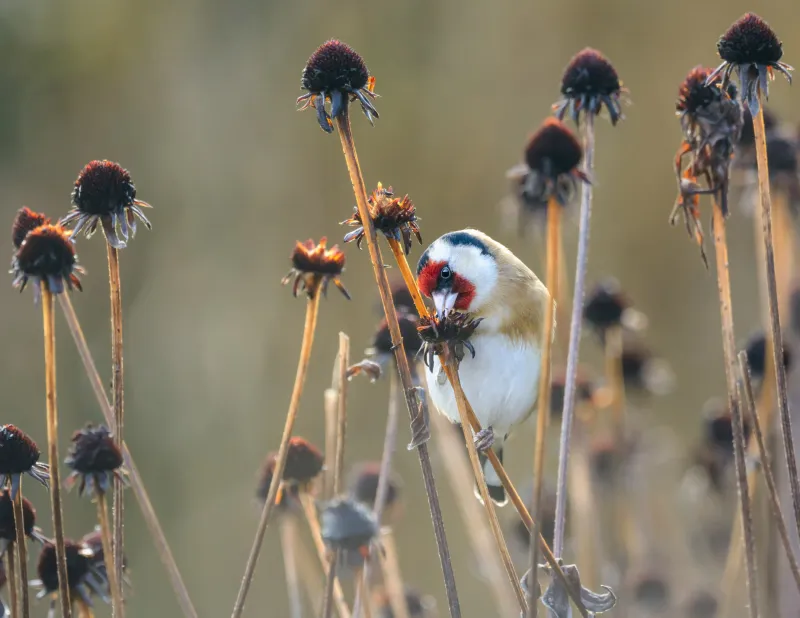
Picture a goldfinch hanging upside down on a dried coneflower head, pecking out seeds on a frosty morning. That scene disappears the moment you chop everything down in September.
A lot of gardeners clean up early because brown stems look messy, but those stems still have work to do.
Seed heads feed birds through winter, and hollow stems can shelter native bees and other helpful insects. Late-season deadheading also will not trigger a big new flush of flowers, so heavy cutting in fall mostly strips away seeds without giving you anything back.
Here is the fix. Stop deadheading in late summer and let the last blooms dry on the plant.
Wait until the plant is fully dormant in late fall, or better yet early spring, then cut stems back to about 1 to 6 inches above the soil.
2. Over-Tidying the Coneflower Bed
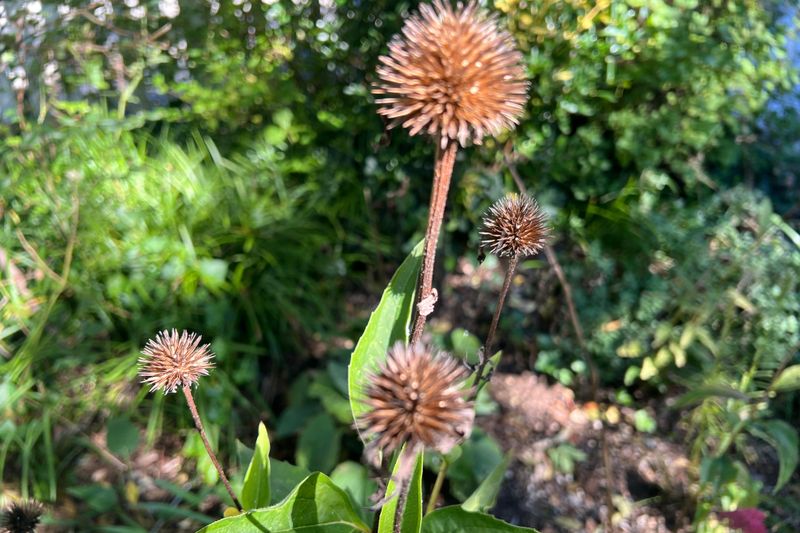
Honestly, a perfectly raked bed is one of the most tempting chores of autumn. It feels productive.
Yet stripping every leaf and stem from around your coneflowers can remove the very cover that helps the garden come back strong.
Healthy stems and seed heads give the bed structure and may offer winter shelter for beneficial insects. Those same insects help pollinate and protect your plants next season.
The trick is being picky, not lazy. Leave healthy material in place, but pull out anything that looks spotted, moldy, or rotten.
That simple sorting job keeps the good stuff and tosses the problems.
3. Building a Mulch Volcano Around the Crown
Mulch is supposed to be a cozy blanket. Pile it straight up against the crown, though, and it turns into a soggy trap that holds water right where coneflowers hate it most.
That wet mound around the base can lead to rot and poor airflow. Mulching too early in fall can also confuse the plant’s timing as it heads toward dormancy.
Aim for 2 to 4 inches of mulch spread around the plant, keeping it a few inches away from the crown and stems. In cold northern areas, a thicker 6 to 8 inch layer can help, but add it only after the ground starts to freeze.
Newly planted coneflowers in chilly regions benefit most from that extra insulation.
4. Dividing or Moving Plants Too Late
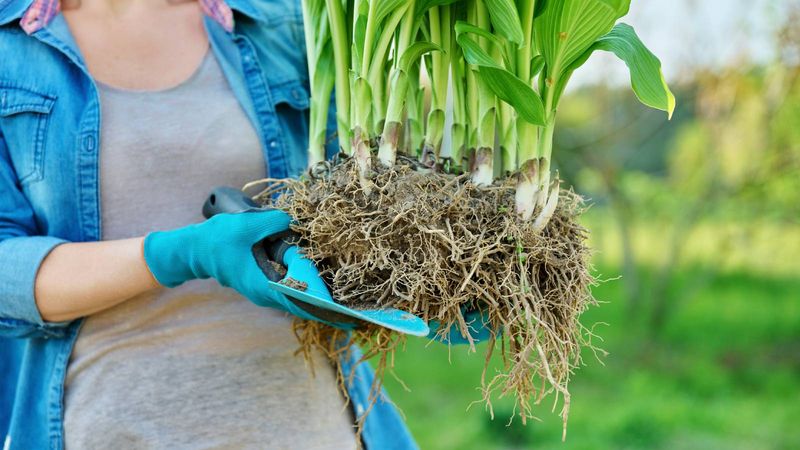
Timing is everything with a shovel in hand. Split a coneflower clump a week before a hard freeze, and the new pieces have almost no chance to root before the ground locks up.
Coneflowers usually benefit from division every 3 to 4 years. The best fall window is early autumn, about three weeks before your first hard frost, when soil is still warm enough for roots to grow.
Early spring works too. Avoid dividing while the plant is still in full bloom.
When you do it, cut stems down to a couple of inches to reduce moisture loss. Make sure each section has at least three stems and a healthy chunk of roots, then water deeply after replanting.
One heads-up: fresh divisions often put their energy into roots first. Don’t panic if they skip blooming their first year.
That patience usually pays off with fuller plants later.
5. Overwatering as the Weather Cools
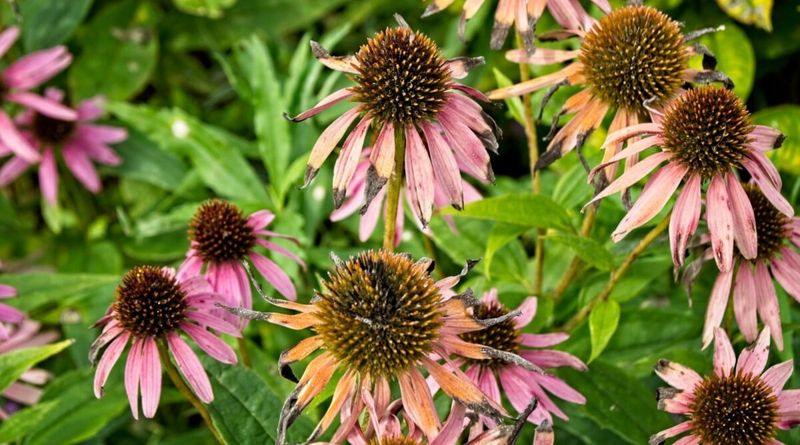
Kindness can drown a coneflower. These prairie natives are drought tolerant once settled, and they would rather be a little dry than sit in wet soil, especially as they slow down for winter.
Soggy ground can lead to root rot, a quiet killer you won’t notice until spring growth never shows up. Cut back on watering in fall, and only water in-ground plants if your winter turns unusually dry.
Before reaching for the hose, stick a finger 2 to 3 inches into the soil. If it feels damp, skip it.
Got heavy clay? Mix in compost to help water drain, and always water at soil level instead of over the leaves.
Quick tip from summer that still applies: a coneflower that droops in the afternoon but perks up by morning is just dealing with heat, not begging for water.
6. Feeding with Fertilizer in Fall
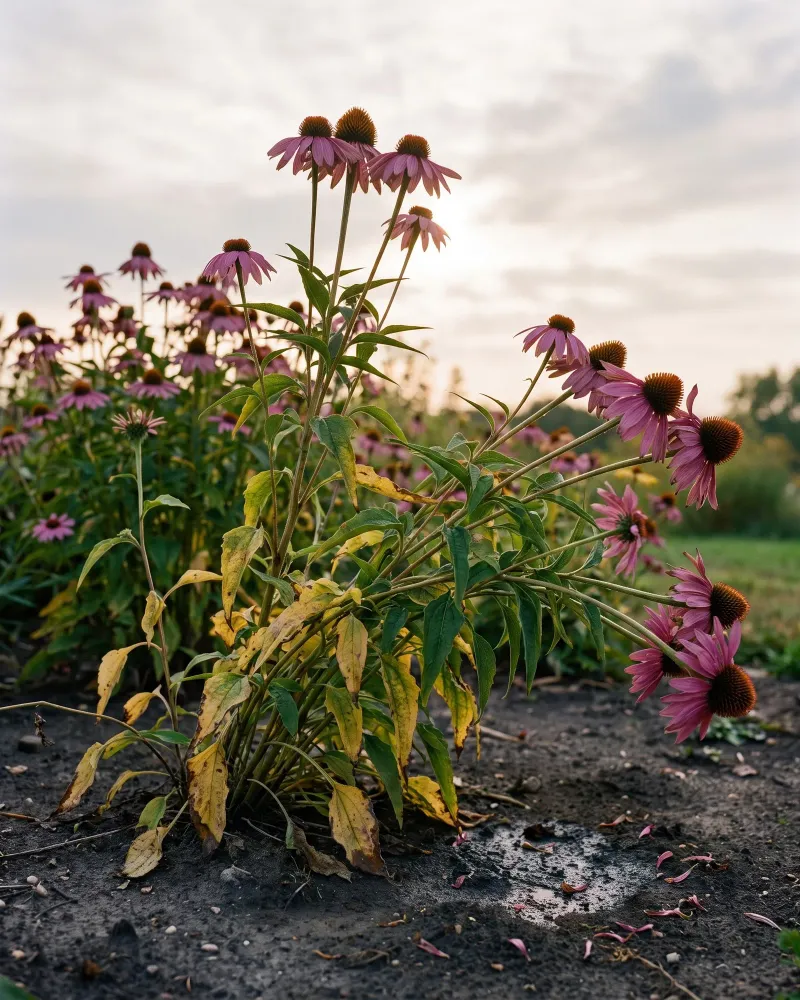
Ever notice how the leafiest coneflowers sometimes have the fewest flowers? Extra nitrogen is often the reason, and fall is the worst time to add it.
Fertilizing now pushes out soft, new growth that frost can easily damage, which may weaken the whole plant heading into winter. High-nitrogen products also favor leaves over blooms, the exact opposite of what you want.
Good news for your wallet: coneflowers rarely need much feeding if your soil has decent organic matter. A layer of compost is plenty.
If you really want to fertilize, use a balanced 10-10-10 product in spring instead.
7. Leaving Diseased Leaves Behind
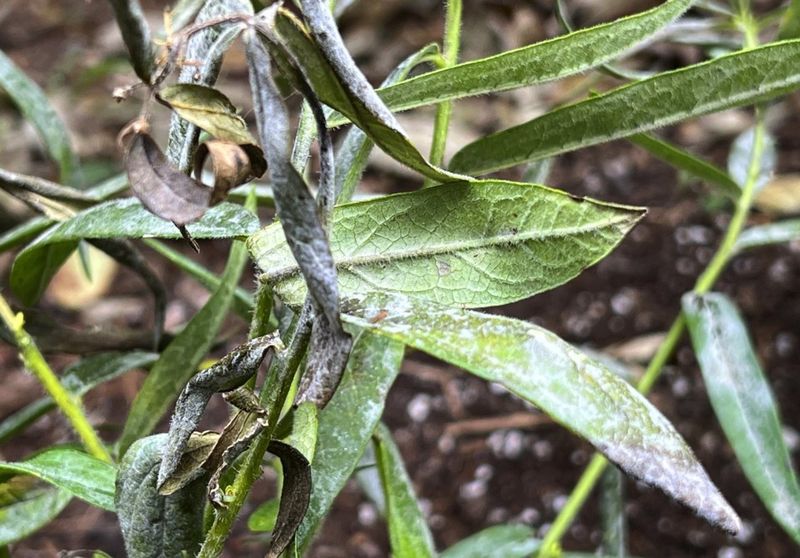
Spores are patient. Powdery mildew and other fungal problems can sit in dead leaves all winter, then splash right back onto fresh spring growth.
Take a slow walk past your coneflowers this fall and look for white dusty coating, dark spots, or mushy stems. Clip off anything suspicious and bag it for the trash.
Skip the compost pile, since home compost rarely gets hot enough to destroy those spores.
Watch for aster yellows too. Plants with odd green, twisted flower heads may have it, and the only real answer is to dig up the whole plant, roots and all, and throw it away.
It feels harsh, but it may protect your other coneflowers.
8. Forgetting Potted Coneflowers Need Winter Protection
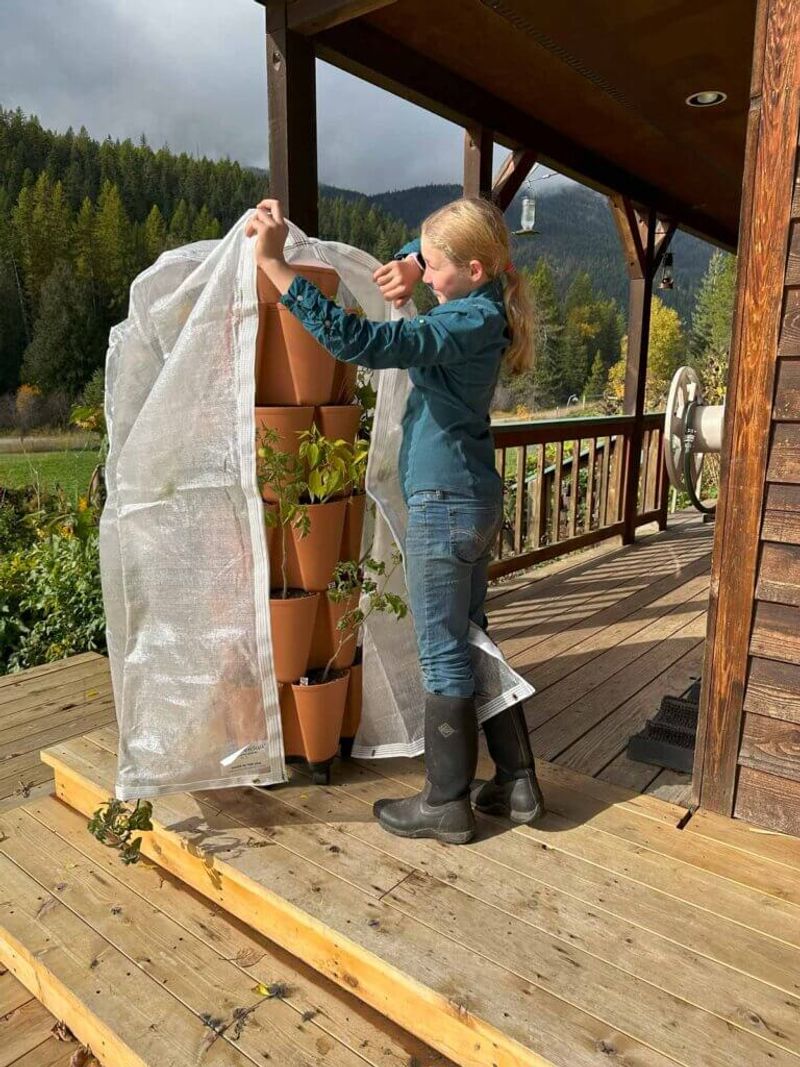
A coneflower in a pot is living with its roots out in the open. Without the ground hugging them, those roots can freeze far faster than plants in your garden beds.
The easiest fix is moving pots to a sheltered spot, like against the house or inside an unheated garage. Wrapping containers in burlap and adding a light layer of mulch on top gives extra insulation.
Another option works well in colder areas. Cut the plant back to soil level, then keep the pot somewhere with low to moderate indirect light and temperatures between 40 and 50 degrees Fahrenheit.
Water lightly every couple of weeks when the top 3 inches of soil feel dry.
Whatever you choose, check for drainage holes. A waterlogged pot in winter is a fast way to lose a plant you’ve loved all summer.