
3 Fall Hydrangea Jobs That Set Up Next Summer’s Blooms (And 2 Mistakes That Quietly Wreck Them)
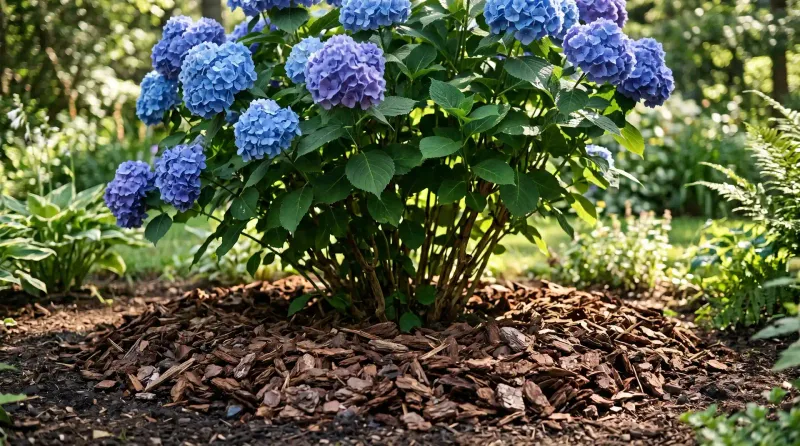
Your hydrangea may look tired and brown right now, but it is already working on next summer’s flowers. Tiny buds are forming on many types as the weather cools, and what you do over the next few weeks can protect them or wipe them out.
A few simple fall jobs can mean a yard full of big blooms in July. Just as helpful, knowing two common mistakes can save you from a summer of green leaves and no flowers.
1. Water Deeply Until the Ground Freezes
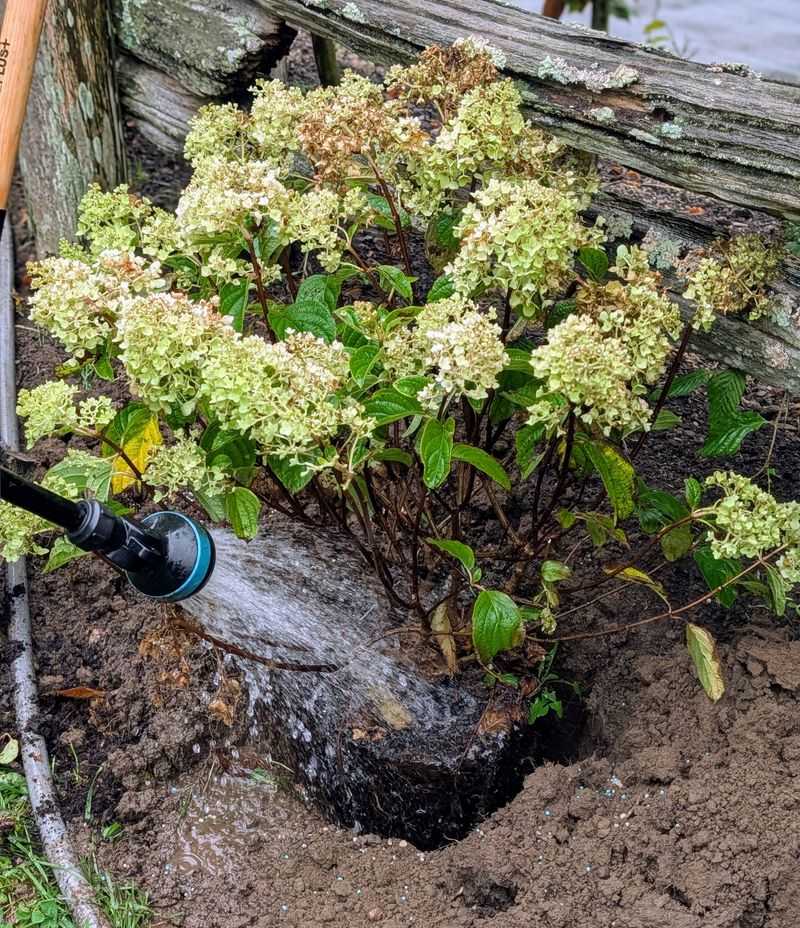
Picture a hydrangea heading into winter thirsty. Cold wind dries out stems, frozen soil locks up water, and the roots have nothing stored to fall back on.
By spring, that plant is already behind.
Fall watering fixes this before it starts. Aim for about one inch of water per week, counting rain, and keep going until the ground freezes in your area.
A slow soak at the base beats a quick sprinkle from above, because you want moisture reaching deep roots.
Newer plants need this most. If you put a hydrangea in the ground this year or last, its roots are still small and shallow.
A quick finger test helps: if the top two inches of soil feel dry, it is time to water.
2. Deadhead Lightly and Carefully
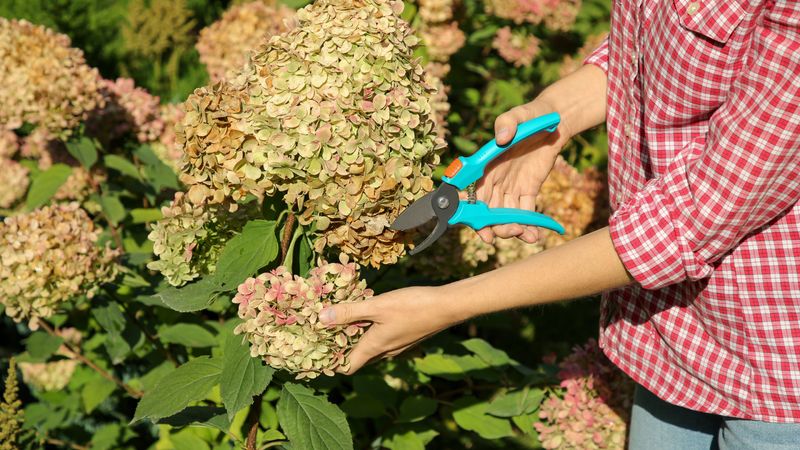
Old flower heads are pretty in a dusty, vintage way. Still, snipping off faded blooms in late summer or early fall can help your plant send its energy toward next year instead of tired flowers.
There is a bonus, too. Heavy, dried blooms can hold snow and ice, which may bend or snap stems over winter.
Removing them can reduce that risk.
Here is the careful part. Cut just below the spent bloom and take as little stem as you can, especially on bigleaf and oakleaf types.
Look closely and you may spot fat buds along the stem. Those are next summer’s flowers, so leave them alone.
3. Tuck In the Roots With Mulch
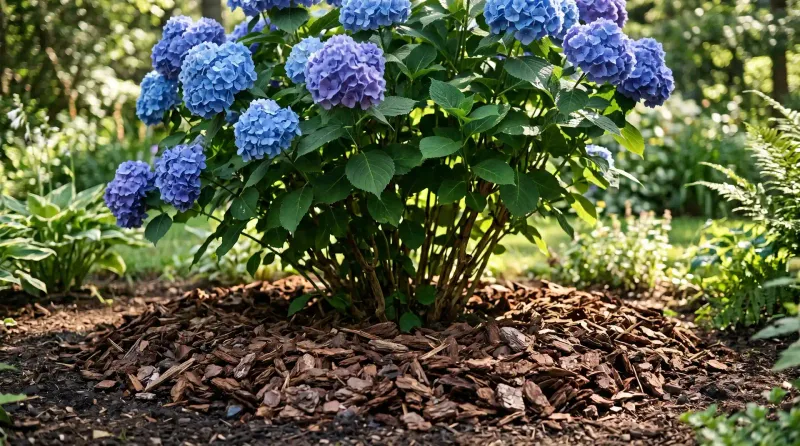
Think of mulch as a cozy winter blanket for roots. When temperatures swing from mild days to freezing nights, bare soil can heave and crack, and roots take the hit.
Spread a layer of mulch 2 to 4 inches deep around the base of each hydrangea. Wood chips, pine straw, or shredded leaves all work, and fallen leaves from your own yard cost nothing.
Mulch also helps the soil hold onto the water you have been giving it.
One rule matters a lot. Keep the mulch a few inches away from the stems, since piling it right against the wood can trap moisture and lead to rot.
Make a donut, not a volcano.
4. Mistake: Pruning Old-Wood Hydrangeas in Fall
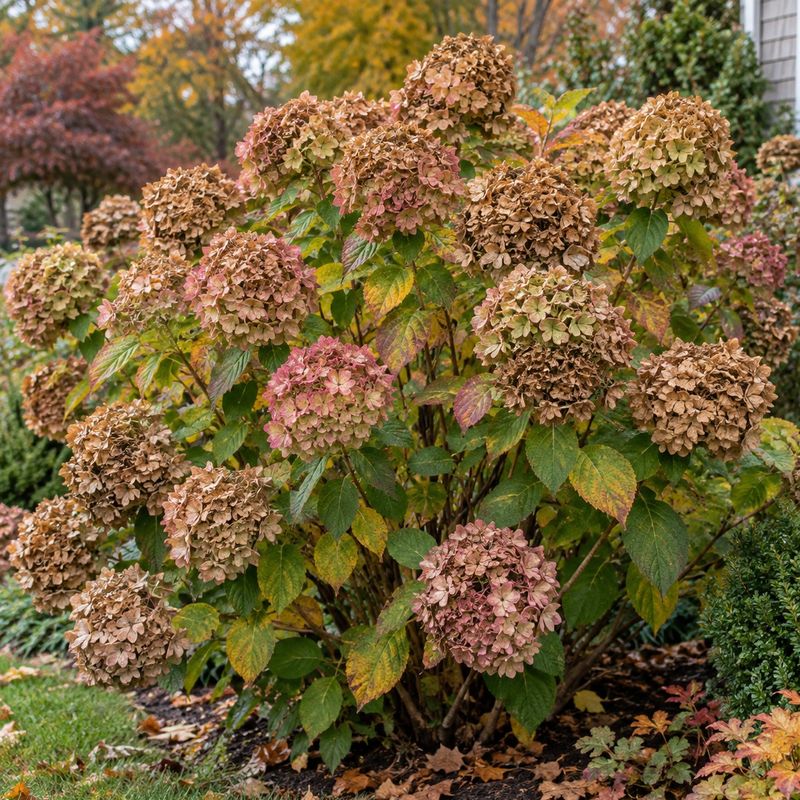
Ask a group of gardeners why their hydrangea skipped blooming, and fall pruning is often the answer. It feels tidy and responsible.
Sadly, it can remove every flower you were hoping for.
Bigleaf, mophead, lacecap, oakleaf, mountain, and climbing hydrangeas bloom on old wood. That means next year’s buds are already sitting on this year’s stems.
Cut those stems back hard now, and you cut off summer.
For these types, prune right after they finish blooming in summer. In fall, only remove stems that are clearly dead, damaged, or diseased.
Panicle and smooth hydrangeas, like Limelight or Annabelle, bloom on new wood, so a fall or early spring trim is fine for them.
Not sure which kind you have? Check the plant tag or wait until spring before pruning anything.
5. Mistake: Feeding Hydrangeas Late in the Season
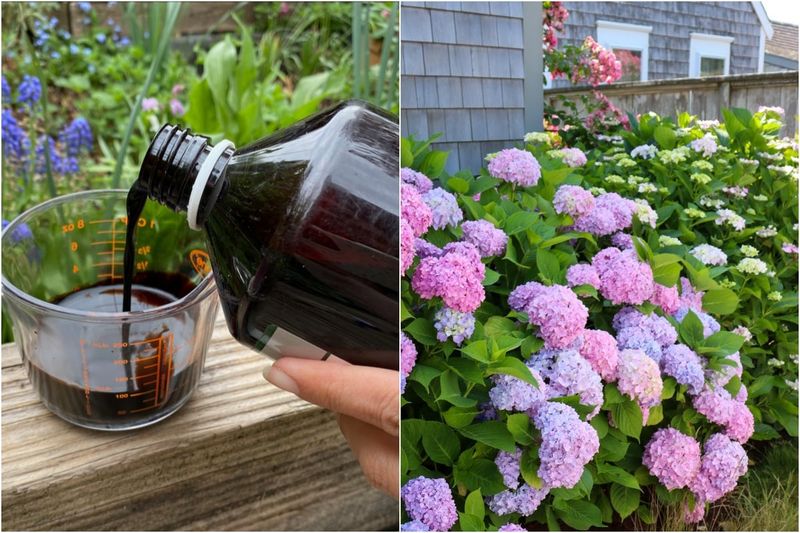
Kindness can backfire. A scoop of fertilizer in October seems like a nice treat, but it tells your hydrangea to push out soft new growth right when it should be slowing down.
That fresh growth has no time to toughen up before frost. When freezing nights arrive, those tender stems can be damaged, and on old-wood types, the buds sitting on them may be lost too.
The plant is also going dormant, so it cannot use much of that food anyway.
Save the fertilizer for early spring, with an optional light feeding in midsummer. Your fall job is simple: water, mulch, and let the plant rest.